
Snacking on seaweed in between meals has long been a go-to move of mine. Once I realized I could make a seaweed face mask for healthy, flawless skin, seaweed quickly became a favorite snack and beauty remedy. Seaweed has been used for ages for detoxification and according to the U.S. National Ocean Service, seaweed was used for its therapeutic and healing properties by ancient Romans and Egyptians. Seaweed has been performing wonders for over many, many years and it certainly isn’t new to performing beauty magic.
According to the U.S. National Library of Medicine, evidence continues to suggest that seaweed contains anti-aging properties due to the minerals, amino acids, and antioxidants packed inside. Applying seaweed topically on your face can provide a moisturizing, detoxing experience without purging impurities too quickly, which could lead to loads of breakouts. That's my main problem with detox masks: Even natural ones like charcoal turn my face into an unsightly mess. After trying out this seaweed mask, I am happy to say my face was smooth and effervescent.
If you want to do your own dabbling in seaweed mask making, here's how.
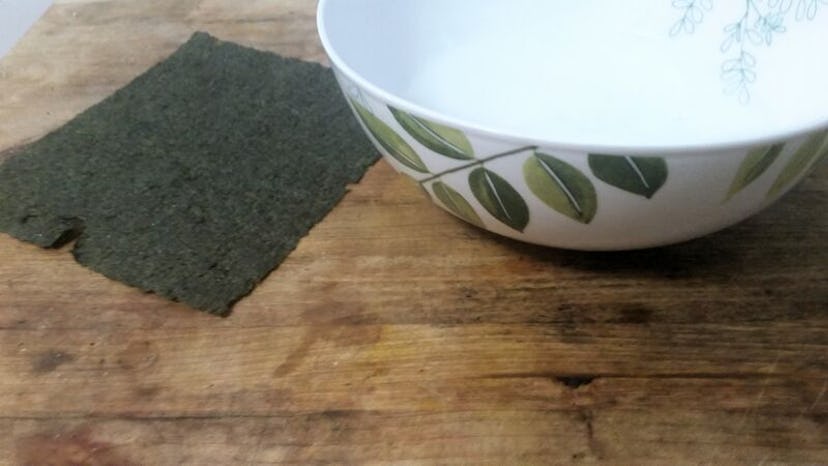
1. Buy Plain Seaweed

I made my quest for seaweed harder than it needed to be by roaming in and out of Japanese restaurants pleading for just a cup of plain seaweed to get me through the week. Each time they turned me away. Finally, I just purchased Nori sheets on Amazon and had them delivered on my doorstep the next day. Regardless of the type of DIY facial you'll be putting on your face, avoid flavors or any additives in your seaweed.
2. Choose Your Facial
For my first round with seaweed, I didn't want to include too many other ingredients just to see how it affected my skin. However, you can add seaweed to any of your favorite face mask recipes for an extra smoothing boost.
3. Rip Your Seaweed Into Strips

I recommend ripping your seaweed into strips that will fit on your face. Make sure you have a small one to go over your lips, forehead, and those cheeks. I realized after my first facial that I needed bigger strips to go over my neck and smaller ones over my nose. Which, looking back, is fairly obvious but I guess the excitement of the sea made me rip my strips without abandon.
4. Soak Your Strips
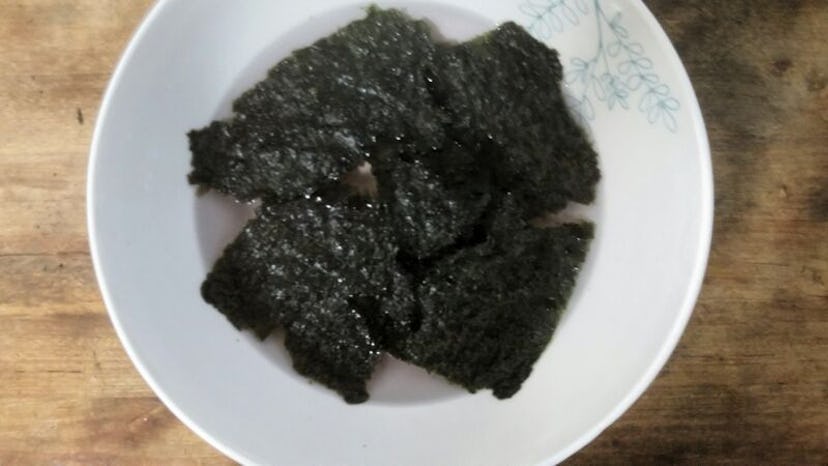
For this DIY seaweed facial, which was inspired by XoVain, I soaked my strips of seaweed in a mixture of filtered water and rose water, I figure it couldn't hurt to infuse my plain old water with some vitamin C for an ultra soothing facial. I soaked my strips for just a couple of minutes in order to soften up the seaweed.
5. Apply Seaweed

My strips were somewhat weird in size, but I was still able to cover most of my face with the seaweed. I will say that once the strips are soaked in water it's hard to resize them.
6. Rinse

I left my facial on for about 10 minutes while I munched on some of the extra seaweed, then rinsed with warm water and used a new washcloth to pat my face dry.
7. Say Yes To Seaweed

Since, I had all that seaweed and rose infused water left, I saved the leftovers for a future mask that will no doubt be off the chain with nutrition. My face felt surprisingly smooth after my facial... not quite oily, but definitely not the dry mess that it was going into the facial. I followed up my mask with my trusty astringent of lemon juice and a moisturizer. When it comes to seaweed facials? I'm definitely all in.
Image: Kristin Collins Jackson (8)
