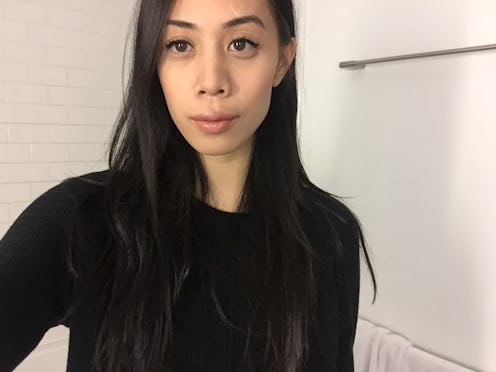
After attending Kim K.'s makeup master class, I felt like I had my contouring skills down. But then I came across something particularly interesting on the Interwebs, about how you can contour using blush. Typically I'll use the basic contouring tools — bronzer, highlighter, etc. — to carve out my cheekbones and accentuate the bridge of my nose, but blush? I didn't think it was possible.
While it might sound crazy, it's actually a beloved trick from some of the most renowned makeup artists. Pat McGrath told Vogue UK that she thought blush was the most underrated product, saying, "It's the fastest way to create the illusion of those high cheekbones we all lust after...Backstage at the fashion weeks, we'll often use a blush across the apples and temples, and sometimes even on the chin and forehead, working it almost like a bronzer to give more life to tired skin."
Perhaps blush has been the contour tool we should have been using all along?! According to Marie Claire, using blush "warms up the complexion, thins out the face a bit, and suggests you've got the circulation of a red-capped Renaissance child. It can even create the illusion of a lower hairline..." After learning all this, I was convinced I needed to try it out myself, so I decided to test out this process and see if it actually worked.
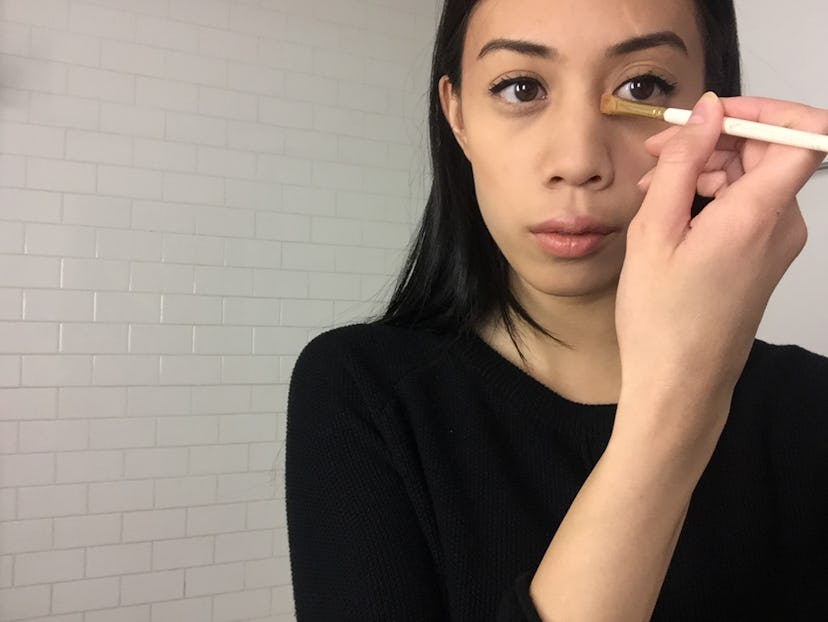
I have to admit, I was pretty skeptical. I mean, blush doesn't exactly come to mind when I think of highlighting and shadowing my features. But then again, I didn't know red lipstick can conceal your under eye circles.
Here's what it looked like when I contoured only using e.l.f.'s powder blush.
e.l.f Powder Blush, $5, Amazon
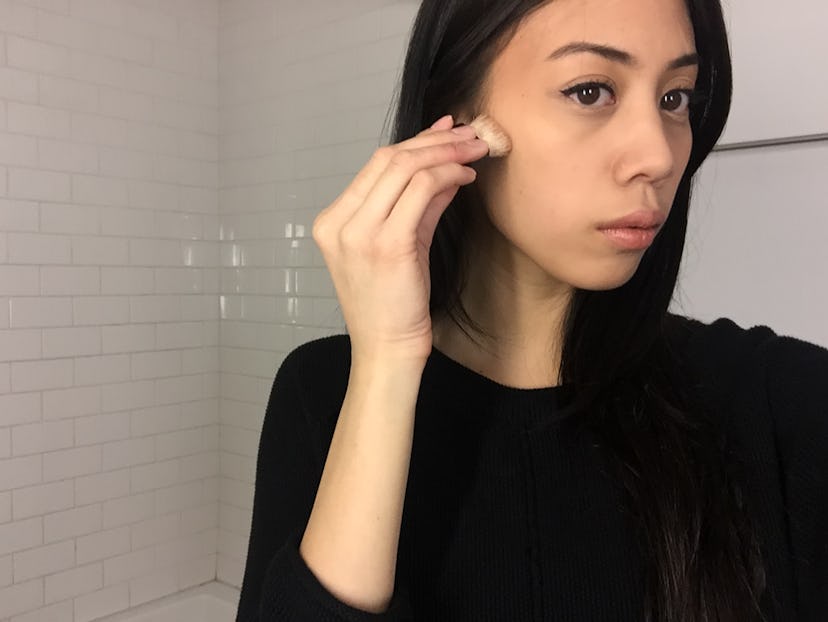
I Started With My Forehead & Temples
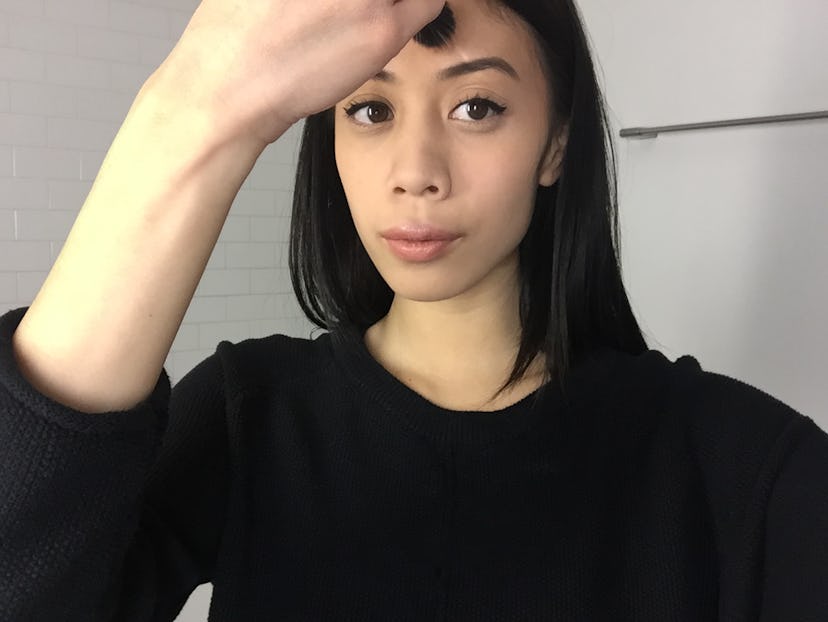
Blush and blend, blush and blend.
Marie Claire recommended I start at my temples and "curve up and connect both sides in the middle of your forehead." I also made sure to swirl and blend the product to make sure it didn't look too rosy. Using my contouring brush plus a beauty blender, I worked from my forehead down to my temples and back up again. I also touched on my brow bones as well.
After completing this step, I found that it looked very glowy and actually quite soft versus the bronzer I normally use.
Beety Contour Brush, $5, Amazon
BeautyBlender , $20, Amazon
Next, I Contoured My Jawline
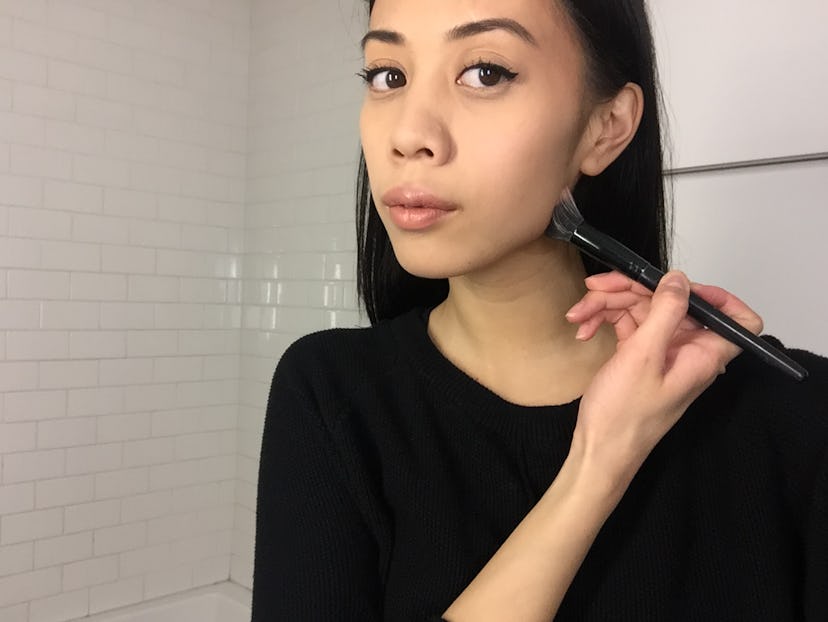
After my forehead and temples were contoured, I went ahead and did my jawline. I started from the back of my jaw, to the front, and repeated, just as I normally do with any bronzer. The result? It actually turned out pretty well! I liked that my jaw wasn't too harsh and that the rosiness of the blush kept it looking pretty glowy and natural.
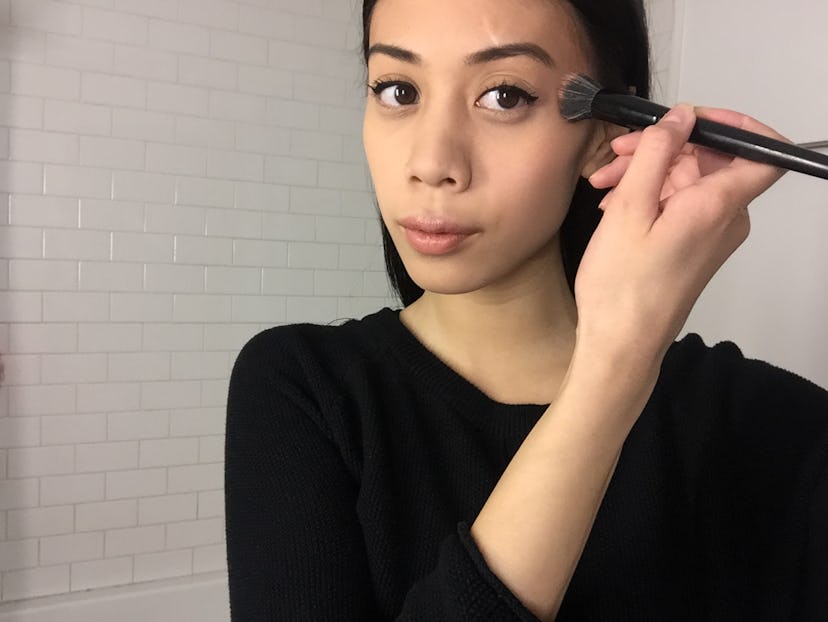
I Moved On To My Cheekbones
So normally, I'd wait to use blush for my actual cheeks, but using them for my cheekbones was actually great! I never thought that the color of the blush would actually be strong enough to make a pretty prominent line to blend in. I made a couple of harsh strokes on my cheekbones then blended them in with a beauty blender. It turned out better than I expected.
Next, I Contoured My Nose
I really believed that using blush for my nose wouldn't turn out very nicely. But again, to my surprise, the redness of the blush made my contouring look more natural as well. I drew two straight lines on the sides of my nose from the top down and blended them in. My nose appeared just like it did when I used bronzer, but with a rosier tone.
My Verdict

There were definitely a lot of pros when using blush for contouring. First of all, like I mentioned, it appears rosier and more natural looking. If you use a powder blush you can definitely use it to make harsher lines and blend it in. I'll have to try a cream blush for next time. Another pro was that it made my skin and lines more gentle looking. I really enjoyed that.
The cons were that it didn't really give me that sun-kissed look that I like to have when contouring. I like going for a darker shade and highlighting from there. You can really bring out your cheekbones and accentuate your jaw line. When using just blush, you're pretty limited to pink-toned colors vs. more tan colors when you use a bronzer, highlighter, and various concealers.
However, using blush turned out way better than I expected and it was a look that seemed to be effortless. If I'm in a pinch and don't have time to bring out all the different products I use to contour, I will definitely use my blush! Overall, I'm definitely glad I tried this and am seriously going to incorporate it into my makeup routine more often.
Want more style tips? Check out the video below, and be sure to subscribe to Bustle’s YouTube page for more hacks and tricks!
Images: Courtesy of Author
