Fashion
The Easiest Summer Makeup Tutorial — Ever

I don't believe in "rules" when it comes to wearing makeup (cause like, do whatever you want, duh), but I do strongly believe in keeping makeup minimal & as natural-looking as possible in the hot summer months. Piling on thick layers of makeup in the humid weather will only clog your pores and suffocate your skin. That natural "just got back from vacation glow" is really the goal here — not "I'm ready for my Vogue shoot." If your face could speak to you, it'd say "save the dramatic looks for the fall, or a special occasion, please & thank you."
So, how do we obtain that effortlessly gorgeous and completely un-orange summer look without spending loads of time or using a bajillion products?
The key is to use lightweight products, and to apply everything in a "tapping" motion. This ensures the product is being pressed into the skin, which looks a whole lot more natural than basically painting your face with makeup (yuck). Remember "bend and snap" from Legally Blonde? It's more like "blend and tap" when it comes to the technique for this look.
1. Choose Your Base

NARS Sheer Glow Foundation, $47, Sephora
After cleansing the skin, choose a lightweight base, like NARS Sheer Glow foundation. Feel free to use a BB/CC cream, or even a tinted moisturizer if you prefer.
2. Do Some Dotting
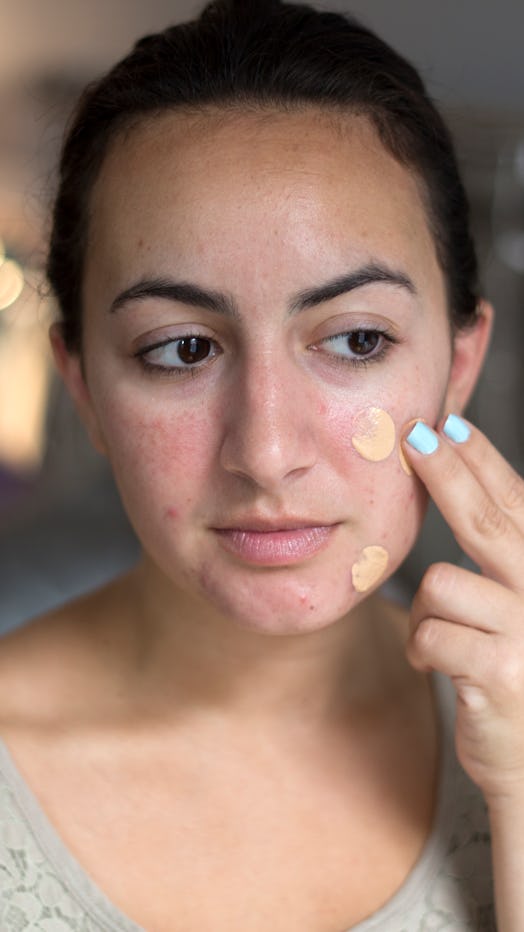
Dot the product on your face in the areas you want light coverage.
3. Blend And Tap
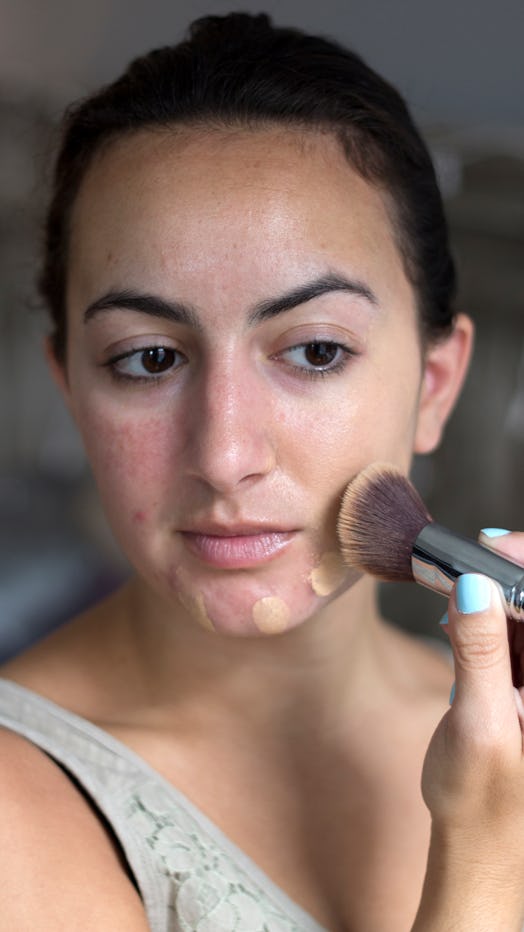
Now for that "blend and tap" thing we talked about! Use your fingers or a brush to tap the product into your skin. Don't spread it as if you were applying a moisturizer; this will actually just wipe the makeup off your face. You will see below how natural the makeup looks on my face by using the tapping method. Also, please, for the love of God, blend down into your neck. You do not want a line of demarcation between your face and neck. That totally defeats the whole "natural" thing we're going for here, capisce?
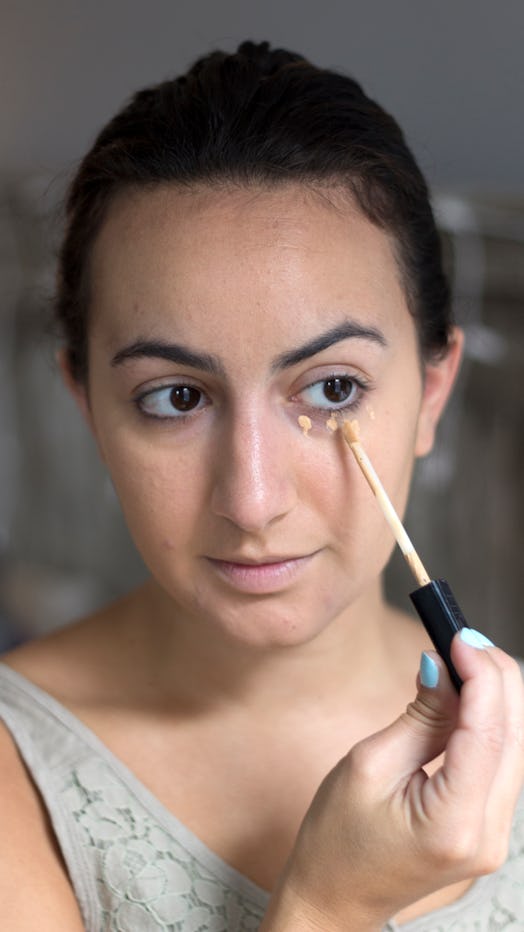
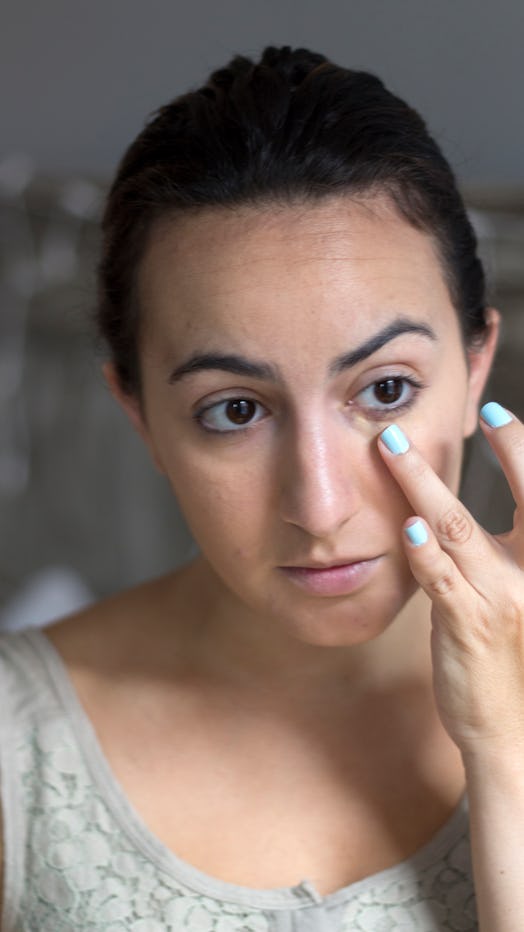
4. Brighten Up
Maybelline's Fit Me! Concealer, $7, Ulta
Next you want to conceal any darkness underneath the eyes. A bright under-eye area really wakes up your face and gives you that "I-slept-for-eight-hours" look, even if you barely squeezed in four. (Hey, #YOLO, right?) Like the foundation application, dot the concealer in the areas that need some coverage and use your finger to tap it into the skin. I used Maybelline's "Fit Me!" Concealer, but feel free to use whatever you have on hand. Go one or two shades lighter than your skin tone for that brightening effect.
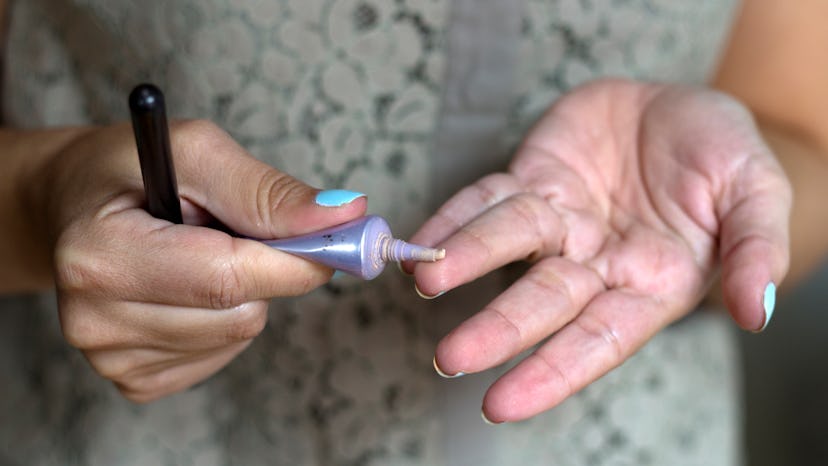
5. Add Some Bronze

No Bronzer Bronzer, $35, Perricone MD
Now that the skin has been evened out and brightened up, it's time to add some warmth and color. I discovered this awesome bronzer by Dr. Perricone which is called "No Bronzer Bronzer". It's basically a serum which tints the skin a beautiful bronze color. It's so lightweight and natural, it doesn't even look like real makeup.
6. Blend It All
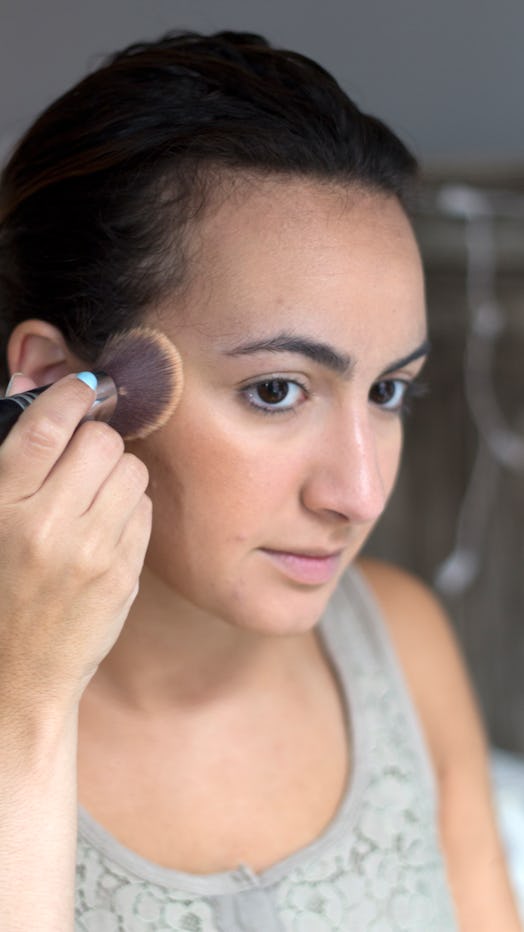
Put a few drops on the back of your hand and dip your brush in the product. You can also apply a few drops into your fingertips and press into the skin in the areas you would normally apply bronzer (cheekbones, temples, and jawline). This will give your face some more dimension and a gorgeous natural radiance.
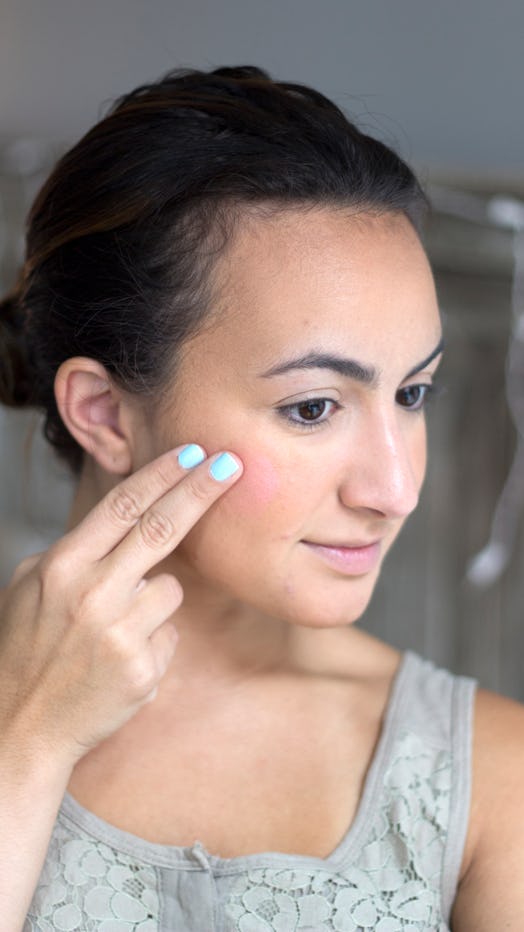
7. Add Some Blush

Stila Convertible Color In Gerbera, $25, Stila Cosmetics
To add some more color to the face, apply a cream blush. I prefer cream blushes for this type of look because they blend well and give your cheeks a natural-looking flush. I love Stila Convertible Color in "Gerbera", which is described as a "rosy peachy pink". Once you get some of the product onto your fingertips, tap lightly into the apples of the cheeks until it appears blended in with the rest of your makeup. This product doubles as a lip color, so feel free to apply some to your lips while you're at it!
8. Prime Your Lids
Urban Decay Primer Potion, $20, Sephora
Now onto the eyes! You'll want to apply an eyeshadow primer to your lids before applying any eye makeup. A primer gives your makeup a base to stick to, and therefore holds your makeup in place for hours on end. Without a primer, your shadow may crease and your mascara may start to smudge. I swear by Urban Decay Primer Potion. It keeps my makeup looking fresh from the moment I apply until I take it off!
9. Add Some Shimmer
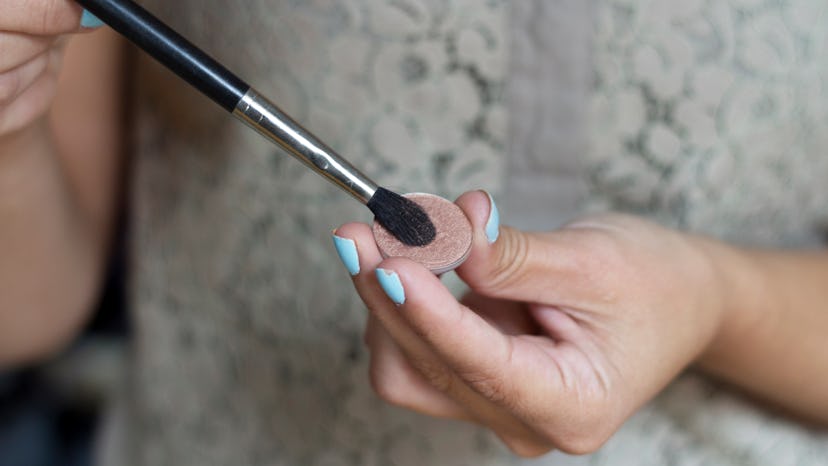
"All That Glitters" Eyeshadow , $16, MAC Cosmetics
For an easy eye look, apply a wash of shimmery eyeshadow all over the lids. I love using "All That Glitters" by MAC. Use a fluffy blending brush and dust this all over for glowing lids.
Finish off the eye look with your favorite mascara.
10. Set It All
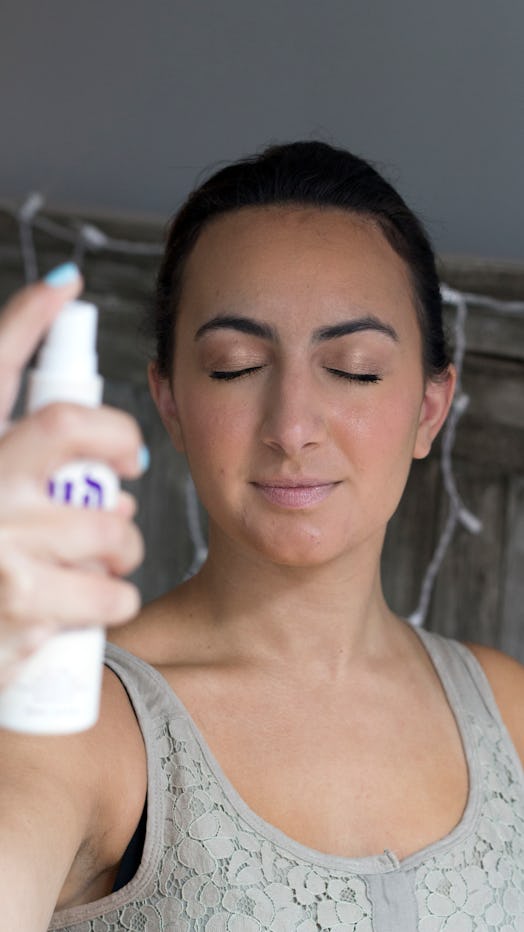
"All Nighter" Setting Spray, $31, Urban Decay
The last (and most important) step is to set your makeup with a finishing spray. If you've never used a setting spray before, it can be a little weird spraying a liquid directly into your face, but I promise you it's worth it. This product basically acts as hairspray for your face, and keeps everything locked in place for hours. I don't believe setting spray is necessary on a daily basis, but in the hot summer months, this really helps prevent everything from melting off. I used "All Nighter" by Urban Decay.
Ta-da! The final result:

This whole look takes about five minutes to achieve, so it's perfect for every day or any time you're in a rush to get out of the house. I'd love to see your version of this summer makeup look, so feel free to tweet me (@thebloginista) and @bustle a picture!
