Fashion
How To DIY Rainbow Hair Extensions

Pastel and rainbow hair is continuing to skyrocket in popularity. While Instagram is certainly at least partially to blame, I suspect this is also due to the resurgence of bond protectors, which lets darker-haired hopefuls to engage in merciless bleaching to achieve the pale blonde necessary to apply a pastel filter. This process is gorgeous, inspiring, and expressive, but it's terribly time consuming as well as expensive. The short answer: Not for everyone.
The best pastel painters on the web are forecasting even more creative iterations of rainbow hair in 2017, but these works of art are in most cases, temporary. This is why one of the brightest stars, The How To Hair Girl, is my favorite to follow. She creates beautiful hair on live models, but also on stationary hair extensions — a dye solution that's perfect for the non-committal or weekend warrior types. It's an added bonus of dyed extensions that using them means you won't be damaging your actual hair with bleach.
Clip-in hair extensions are as ubiquitous as pastel hair, but not always straightforward to use, since the goal is typically to match your own hair as closely as possible. But if you're going for a rainbow look anyway, there's no need to find that exact shade!

When selecting hair, first decide what you want to do with it. Though virgin hair that's been bleached by a professional with bond protectors makes the longest lasting and easiest to style option, you can also buy blonde hair that's been pre-bleached. The virgin hair brand Indique has been my hair of choice for around three years; it is so healthy and shiny that it puts up with just about anything. They make a blonde version, but I like to keep the hair at the root the same as my natural hair color for easiest blending.
Once hair is sufficiently bleached to a pale white blonde, you can start to decorate to your liking. Depending how wide the piece is, a clipboard covered in foil is an excellent tool to secure the hair so you don’t have to wrestle with it while painting. Cut stencils and different shapes out of cardboard to help when you're painting different colors on the hair. Gather all of your hair dye supplies in one place to prevent messes and make everything run smoother.
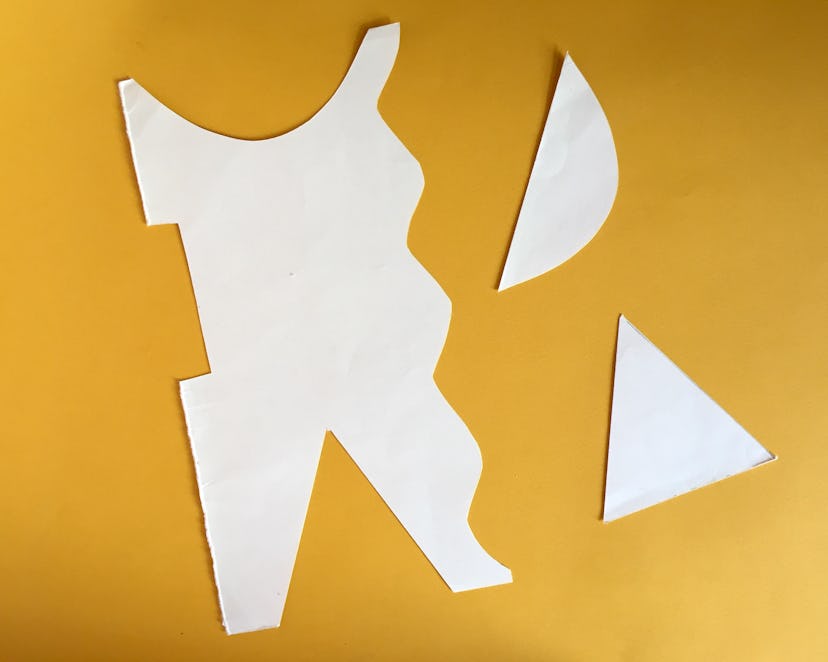
I cut a bunch of random stuff out of an old file folder. Don't worry about being perfect, since your hair will likely move once it's been dyed.

If you want to practice making fun hair designs, spray-on temporary colors are an excellent choice. You can get sharper lines, there's no processing time, and you can wash out mistakes and start again. If you only plan to wear the hair part time, this choice makes sense because you can completely change it up whenever you want. These Joico sprays are pretty easy to use, and their color is super vibrant.

Garnier Nutrisse Ultra Color Ultra Bold Denim, Coming in 2017
If you want a more permanent look, go for the box dye. Colors like this Garnier are absolutely consequence free when you're doing it on a tiny piece of fake hair, so why not experiment! This color came out a bit dark, but is still an extremely rich blue. On platinum blonde it would probably come out lighter. Nonetheless, it looked really cool.

To create a geometric look, place your file folder stencil on your hair, then spray or dye around it to create the base. Make sure to paint extra carefully when working with stencils, and when you spray try to hit the edge of the paper with one clean shot. You can even use a sponge to paint more gently with liquid dyes.

Now you can sew clips onto the back of each piece, which are easy to find at any beauty supply store. You can also just bobby pin little pieces in, but they won't be as secure as wig clips. Clip-in pieces like this can be worn to add length, color, or even to thicken a bun or updo. The most fun way to use these pieces is to put them in within natural hair and allow them to peek out occasionally.

Once you have a small arsenal of different colored hair pieces, mixing them together for different effects or to match a certain outfit is a new fun way to add to your overall look. I'd recommend keeping it to small, 4-inch wide pieces, so you could then use them anywhere on your head.

Personally, I'll be wearing these all blended together. I love the way it creates an oil slick effect.
Try this one afternoon with friends! You could split the supplies and everyone would leave with something unique. That sounds like way more fun than painting a basket of fruit, right?
Photos: Danielle Guercio
