Life
How to Make Edible Fingers This Halloween
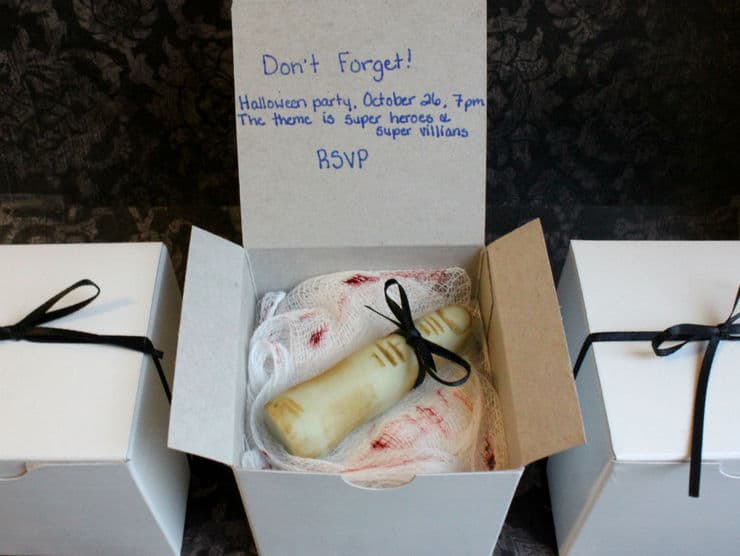
Growing up I always loved leafing through Martha Stewart’s Halloween edition of her magazine for all sorts of creepy ideas. I remember being particularly struck by her severed finger invitations, and thinking that some day I would use those for an amazing Halloween party. Unfortunately, the store kits she used to sell have come and gone, and neither my parents nor I could find rubber mold to make them at home. But luckily, that’s when I discovered Silicone Moulds, who just so happened to carry a finger shaped silicone mold. Not only could I make my severed finger invitations, but I could have my cake and eat it too!
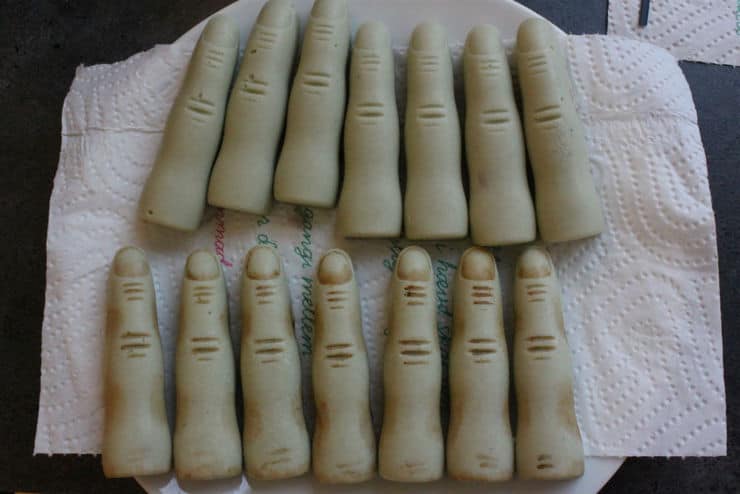
Chocolate FingersYields about 18 fingers
For the cake truffle filling:1 stick (113 grams) butter, softened1/2 cup granulated sugar1 tsp. vanilla extract1 1/2 cup white or yellow cake mix1/2 cup all purpose flour
For the chocolate coating:3 bars white chocolateA few drops black food gelCooking oil (for thinning, if necessary)
Other ingredients or tools:Silicon finger moldA small, clean brushBrown food gelA sponge or cotton ballRed jam (optional)Boxes and black ribbon (if making invitations)
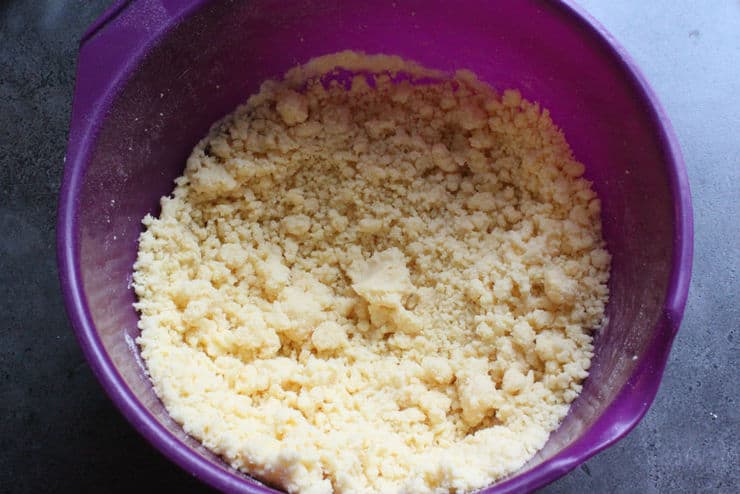
To start, cream the butter in a large bowl until smooth. Add the granulated sugar and mix until it’s fully integrated into the butter. Add the vanilla extract, cake mix, and flour, and mix until large lumps form. You should be able to form the mixture into lumps that stick well to each other but not to your hands. If the mixture is too dry, add a teaspoon of milk at a time until it’s wet enough to clump.
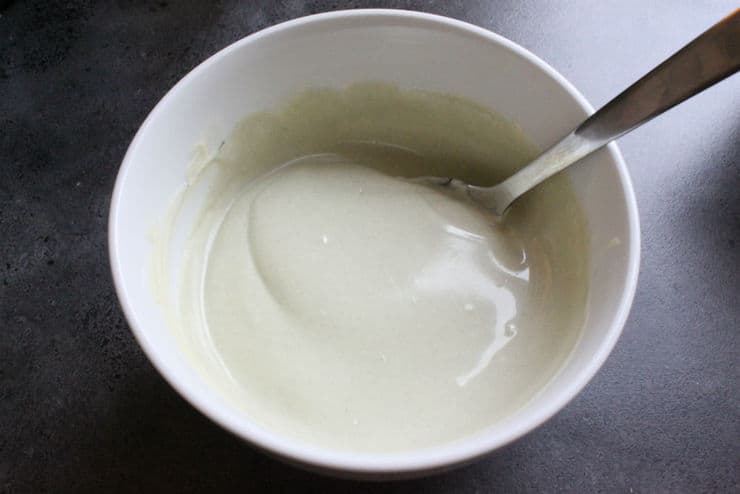
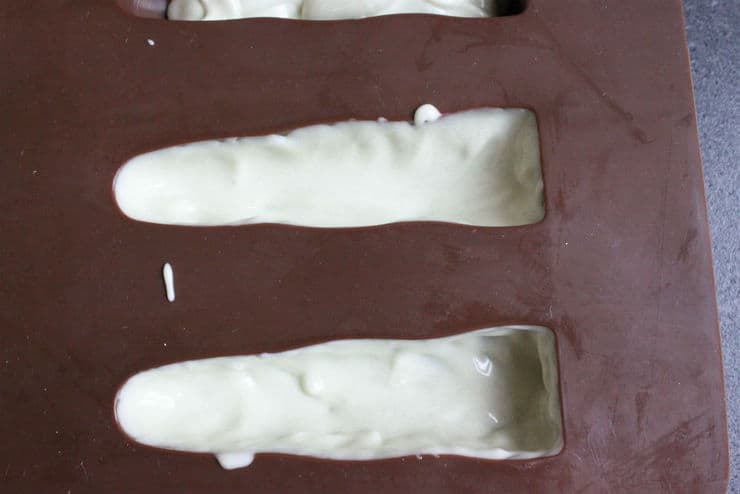
In a small bowl, melt the white chocolate. Add a few drops of black food coloring to tint the chocolate just slightly gray.

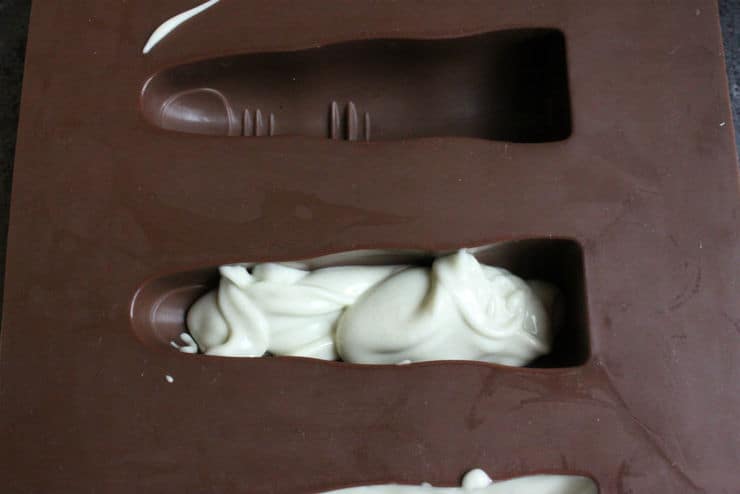
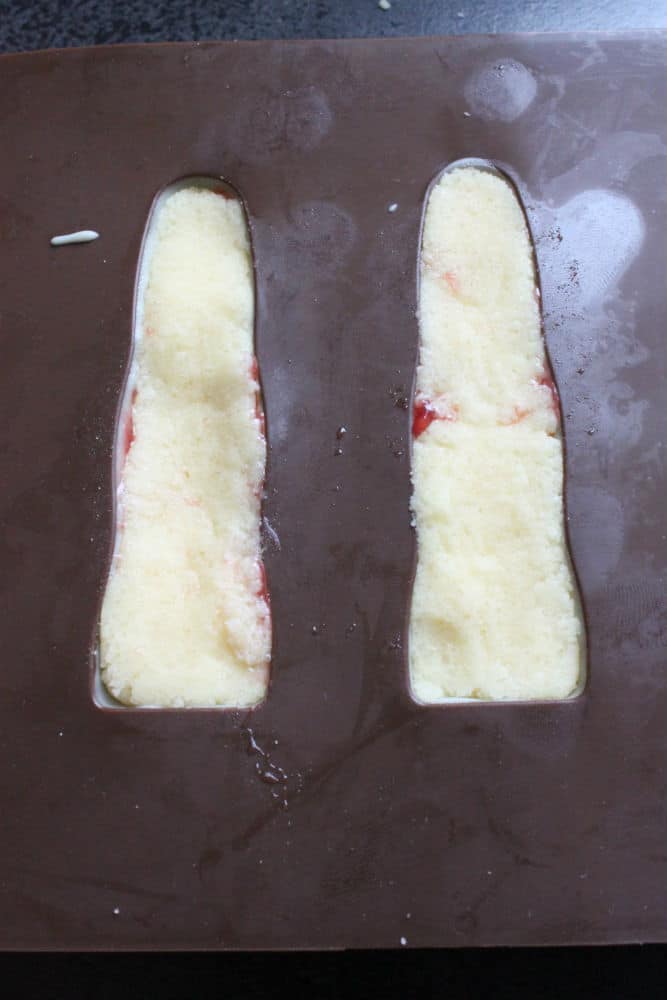
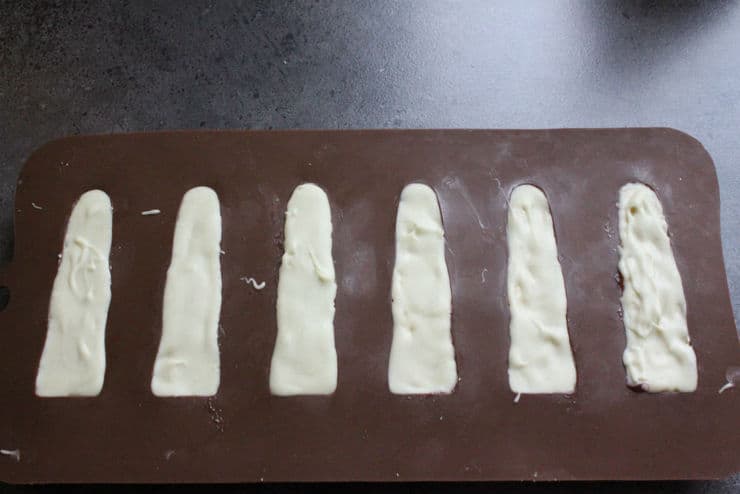
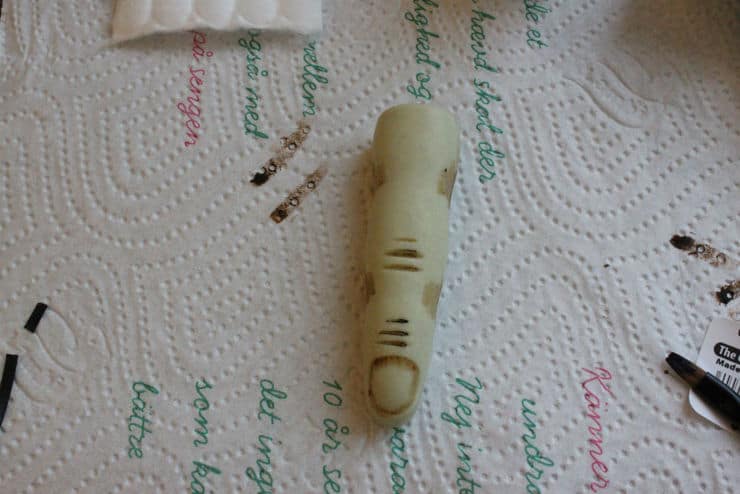
Fill the cavities of the mold about 1/3 of the way full with the chocolate and, using the small brush, brush the chocolate all the way up the sides. Set the mold into the freezer to firm up for about 7-10 minutes so that the chocolate is completely hard. Remove the mold from the freezer and add a thin line of red jam (if using). This way the chocolates will “bleed” when bitten into. Gently press the cake truffle dough into the mold so that there are just a few centimeters between the top of the filling and the top of the mold. Pour a small of amount chocolate over the top of the filling, and smooth it into place with your brush. Put the mold back in the freezer for another 7-10 minutes until the new chocolate hardens. Remove the mold from the freezer and gently push the fingers out of the mold.
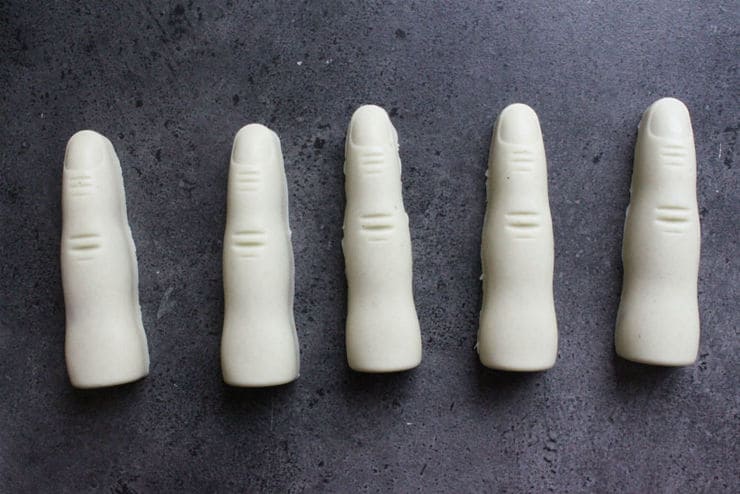
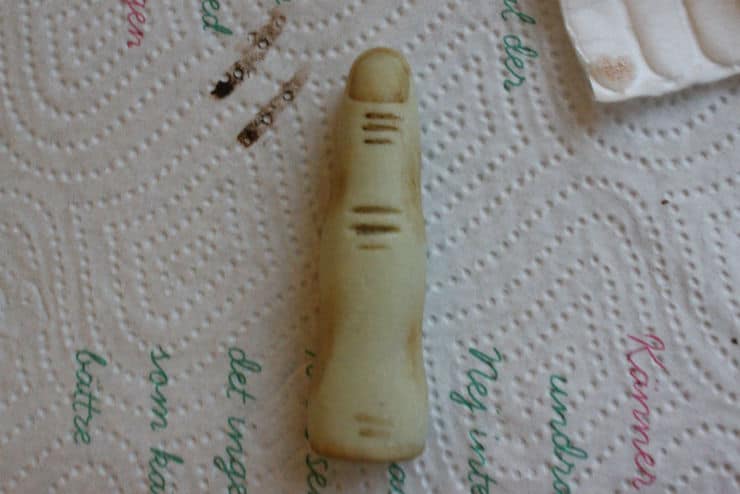
Although the fingers look pretty good as they are, I thought they needed a little more dimension. To make them look even more realistic, I used my small brush and some brown food gel to shade along the sides, create lines across the knuckles, and shade around the finger nails. Once you’ve finished the shading, it’s a good idea to gently work those areas over with a cotton ball or a soft sponge to blend the color into the chocolate and to keep there from being any rough edges of color.
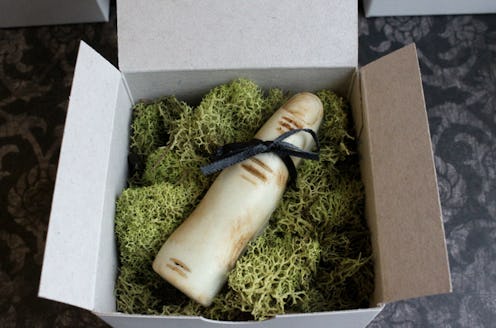
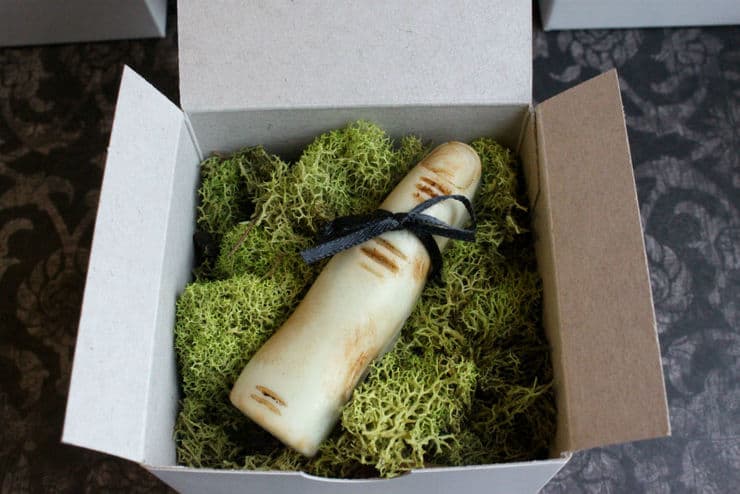
If you’re making the invitations, tie a small bow around each finger with your black ribbon, and place each one in it’s own box. You can fill the box with tissue paper or fabric if you want to make it look extra nice. I also feel like I should mention that although I used moss in one of the boxes in a few pictures to recreate Martha Stewart’s look, I do not recommend doing this. Most mosses are not edible, and will leave an unpleasant flavor on your chocolates. I actually threw that chocolate away after I was done with the pictures. All the other chocolates where packaged with clean gauze stained with a little red food coloring. Don’t forget to add a label on the inside of the lids with the details for you party!

Happy baking!
Sources:Cake Truffle recipe adapted from The Girl Who Ate EverythingTechnique adapted from Hungry Happenings
This post originally appeared on The Simple, Sweet Life.
