Fashion
How To Make Eyebrow Cream With An Eyebrow Pencil
Maybe you've run out of your favorite brow cream or powder or perhaps you can't be bothered to cough up the cash for some pricey eyebrow product. We've all been in dire situations where we've had to get creative with our makeup game, so, what's the next best thing? I'm going to teach you how to make eyebrow cream with an eyebrow pencil, because yes, melting your eyebrow pencil is the next best thing. This hot, hot hack is one you won't forget.
Heating up makeup isn't a new phenomenon. People have been warming up their eyeliners and eyelash curlers for a while now and have been getting great results. My boyfriend's sister, however, takes using heat one step further by literally melting her pencil down to a creamy consistency. Obviously, she could use the pencil as is to do her eyebrows, but once you've found a way that works for you, it's hard to simply give that up. For this reason, she prefers melting down a pencil because it lets her have more control in shaping her brows (with the angled brush) and getting the perfect, on fleek look.
Because I'm always up for trying out different beauty hacks, I decided to give this one a go. Not only would I get to play with fire (caution: this is probably somewhat dangerous), but it could also introduce me to my new favorite eyebrow makeup trick.
Thing you'll need:

- Pencil Eyebrow or eyeliner in your color of choice
- Angled brush
- Spoolie
- Lighter, hair dryer, candle, or some way of warming up the pencil
- Tissues
Step 1: Prep your brows

The first thing I did was prep my brows after having (sort of) done my makeup. I combed them through with my spoolie and made sure they looked decent enough to begin the brow process. I wasn't planning on going out that night, so I kept my routine simple and didn't entirely clean up my brows as I usually would.
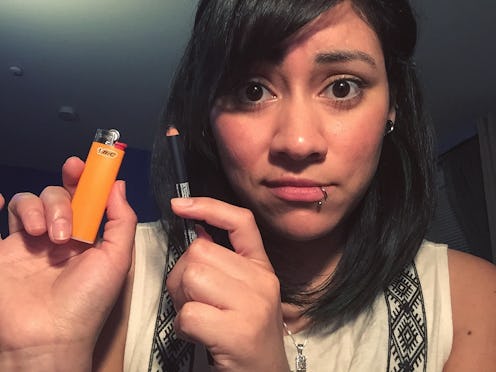
Step 2: Melt the eyebrow pencil

Once you've prepped your brows, you can use whatever heating method you've chosen to warm up your brow pencil. I used a lighter because I conveniently had one next to all my candles. I held the pencil over the flame until I saw the tint getting soft and shinier than it had before. I also tried it with a hair dryer and simply held the pencil in front of the hot air until it began to soften.
If you choose to use fire, be careful not to let the pencil burn. The first time I tried doing this, I put the pencil too close to the flame and the makeup actually caught on fire and started to burn. It didn't smell lovely and I had to chip that part off.
Step 3: Apply to angled brush

Once you've melted the tint, quickly get your angled brush and lightly apply some of the makeup onto it. Be careful not to push too hard with the brush as it can knock off the soft makeup and you'll have to melt some more. You can also place the melted makeup in a small bowl or bottle cap (that can stand up to heat) and use that to more easily apply to the brush.
Step 4: Do your brows!

If you've never used a brush to apply your brow makeup, start from the middle to make sure you don't create some thick, out of place line. It will also let get an understanding on how the melted makeup looks on you, while also letting you slowly practice using the brush.
This was my first time trying out the angled brush, so my brows didn't come out how I usually like them. I also have very thick brow hairs, so this technique is definitely something I need to practice more.
Verdict: But, really, why melt it?
I was really baffled by Leah's decision to melt the pencil instead of just using it. I've always been a pencil kind of gal (or at least pencil-shaped), but have admired those who use brushes to create perfect eyebrows. However, now that I've tried it out and experienced first-hand how the brush can really help to shape them, I may slowly shift over to the cream and powder eyebrow makeup world. Of course, this costs money, so, for now, I'm going to keep melting my pencil whenever I feel like practicing using a brush to style my eyebrows.
Here's a video of my entire process. Check it out for yourself!
Images: Author's own
