Fashion
5 Steps To Self-Tanning Your Face
We all know that you can self-tan your body, but did you know that you can self-tan your face as well? It's a great way to get a gorgeous sun-kissed look without ever having to step into the sun. It's glowing made easy. You don't even have to spend a lot of time to get fantastic results. Whenever I use self-tanner on my face, I like to do it about a half hour before I apply my makeup. It couldn't be simpler.
When it comes to tanning your face, it isn't exactly the same as tanning your body. When I tan my body, I like to start from the center of whatever appendage I'm tanning and blend outwards. However, when I tan my face, I like to work from the outside in. Applying the product this way allows for the face to look like it's naturally tanned. Tanning your face is a great way to skip the sun, but still get the glow. You don't need damaging sun-rays to look like you just came back from the beach. All you need is a bit of self-tanner, and the desire to rock the glow. Here are a few simple steps for the perfect self-tan application for your face.
1. Get To Know Your Product
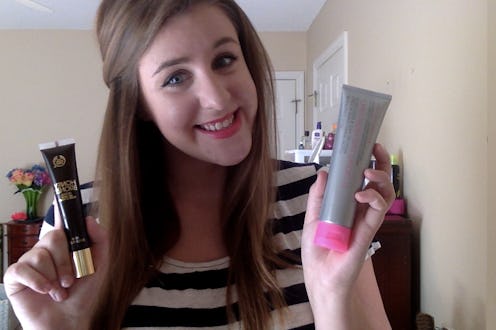
When it comes to tanning your face, it's best to stick with products formulated specifically for the face. I know that sounds super simple, but not all body products are created equal. Facial self-tanners are usually thinner in consistence, which lessens the chances for streaking and discoloration.
2. Exfoliate

Scrub away any dead skin cells! Pesky dead skin cells can clog your pores, and cause your self-tanner to become patchy. No one needs that in their life.
3. Moisturize

Hydra Moist Moisturizer, $30, Pūrlisse
Take your favorite moisturizer, and smooth into your skin. This will keep your skin hydrated, and prepped for self-tanner. However, make sure to wait a few minutes after applying your moisturizer before you apply your self-tanner. You want to make sure your skin is dry before you apply self-tanner, so that it can fully sink into your skin. One of my favorite moisturizers for this is the Pūrlisse Hydra Moist moisturizer. It sinks into the skin beautifully!
4. Prep Your Hairline
One of my favorite steps is to rub a tiny amount of vaseline around my ears and hairline before I tan my face. This allows me to wipe away any built up tanner in these areas. No awkward stains here!
5. Apply Your Tanner

I like to apply my self-tanner starting from the outside areas of my face and work inwards. This allows the outer edges of my face to be darker than the center of my face (obviously). In my opinion, this trick is the most natural way to apply self-tanner. After it's applied, I suggest waiting a few minutes before applying makeup in order for the tanner to settle into place. After that, you'll be a sun-kissed goddess!
Here's my end result. Happy tanning!

Images: Emily McClure (5); emilymc712, beautybloglaura_me/Instagram
