Beauty
How Do A Sleek, Slicked-Back Bun On Every Hair Texture
Plus, the best products.
There is perhaps no hairstyle quite as reliable as a slicked-back bun. Known as the internet’s most favored ‘do, the versatile style blew up last year after celebrities and influencers alike religiously rocked the look on and off the red carpet (think: Hailey Bieber running to pilates class).
While TikTok popularized the hairstyle, sleek buns have been on the beauty scene for decades now. “The slicked-back bun became more popularized back in the ’90s,” Jessica Fitzpatrick, texture specialist and owner of Beyond Texture in Brooklyn, tells Bustle. Particularly on Black and brown women, “we started to see this era of really tight and polished, crisp looks.”
Fast forward to 2023, and the slicked-back bun is still a classic. According to Fitzpatrick, the style’s prolonged praise is due to its practicality and versatility. “It's a very polished look that can easily be dressed up with a beautiful accent of earrings and makeup, or dressed down to run errands.”
When it comes to recreating this no-fuss style, texture can’t be ignored. Most hair textures are commonly divided into four categories — type 1 (straight), type 2 (wavy), type 3 (curly), and type 4 (coily) — but there are some exceptions to these umbrella categories. “As a hairstylist, I often throw [these categories] out the window because there's so many different characteristics that we have to look at beyond the curl pattern,” says Fitzpatrick. In addition to acknowledging that there can be a multitude of different hair types on a single head, Fitzpatrick also pays close attention to hair density or “how many strands are on the head, how thick or thin the hair is, and how fine or coarse the strands themselves are.”
While it’s important to understand which products interact best with each hair type, Fitzpatrick says the key to achieving the perfect slicked-back bun is less about texture and more about technique. Ahead, find each hair type’s expert-approved routine designed to help you achieve your sleekest, slicked-back bun yet.
How To Do A Slicked-Back Bun On Hair Types 1 & 2

When it comes to pulling off this supermodel-approved bun on hair types 1 and 2, Ashly Daniela, curl specialist and hairstylist at Rëzo Salon in New York City, tells Bustle that they essentially require the same technique because of their minute differences in curl pattern. “Type 1 hair can be fine or coarse, and it can be pretty oily depending on the thickness of the strands,” says Daniela. “[This is] because oil is able to travel down the hair shaft more easily when hair is straight rather than curly.” Type 2 hair, on the other hand, has a loose “S” shape,” and is a bit more varied in terms of hair density.
The Technique
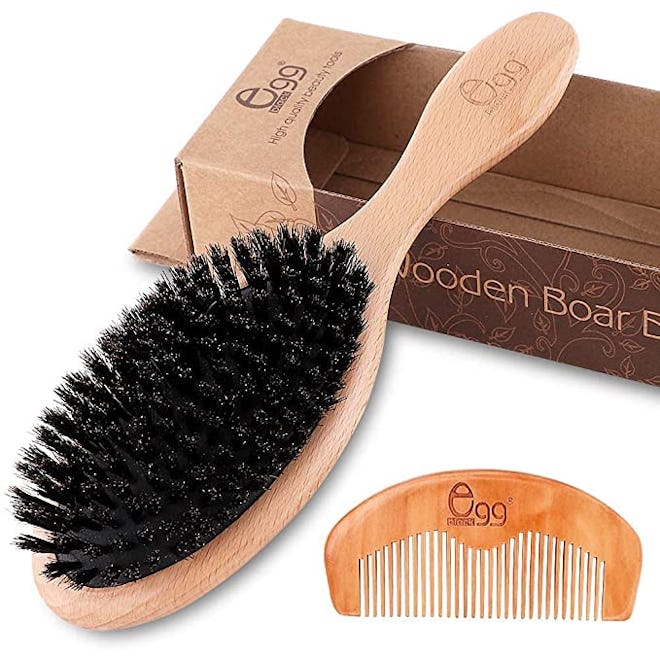
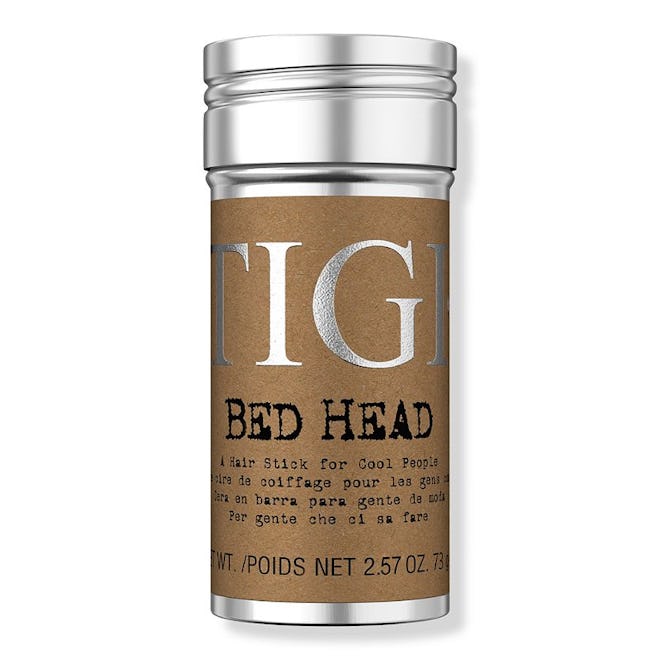
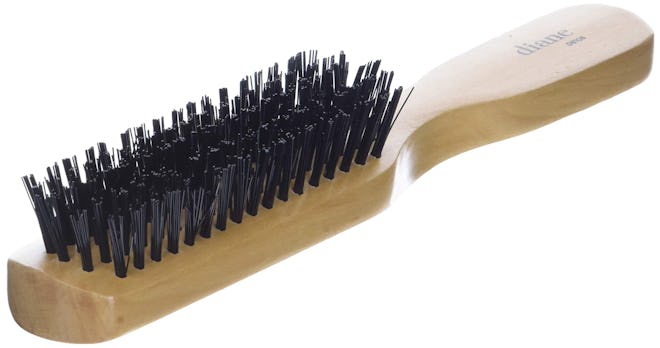
When working with straight and wavy hair, it’s best to start with dry (but moisturized) hair. First, choose where you want your hair parted. While Gen Z favors a middle part, there’s no shame in sporting an asymmetrical slicked-back moment. “For looser textures, I love to use the Bed Head wax stick because you don’t have to wait for it to dry,” says Daniela. Place the product along the hairline, as well as over the crown of your head. To do the slicking, guide your hair into a ponytail using a small boar bristle brush.
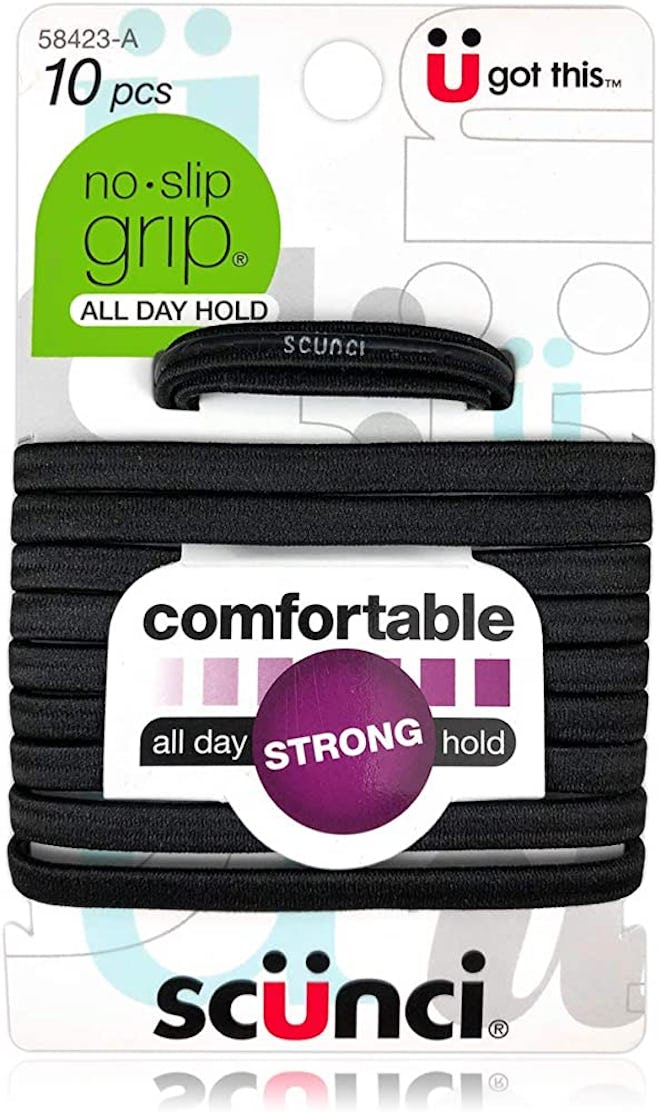
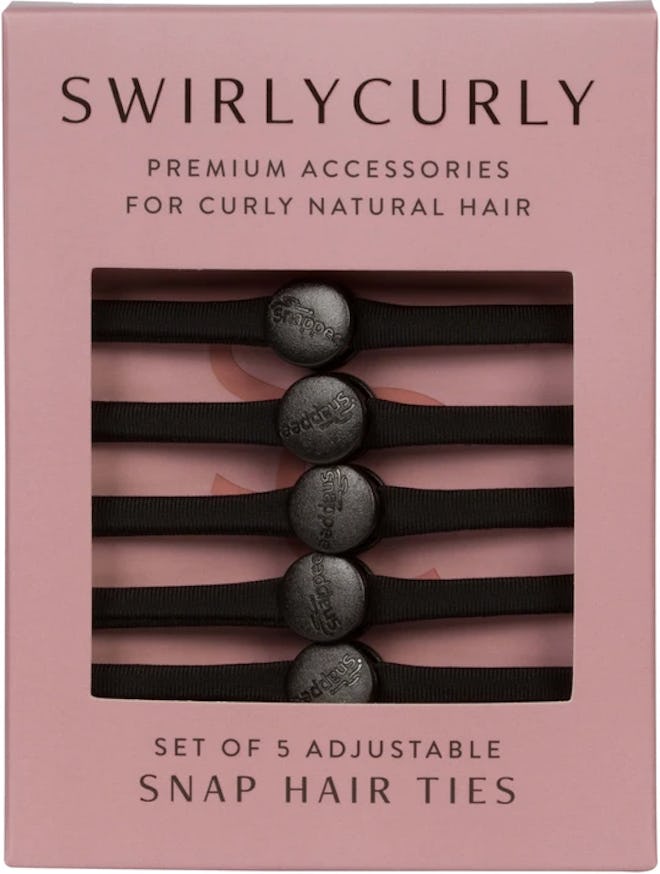
Once smoothed to your liking, Daniela says to use a hair tie — specifically a Bungee hair tie that has hooks at the end — to secure your ponytail. “They tend to be a bit easier [to use] than regular hair ties because you can avoid any annoying lumps in your [look].” Twist your ponytail in place, then tightly twist it around the base of the ponytail to create a bun. Either fasten it with bobby pins that match your hair color, or use a second hair tie to keep it in place. Use an edge styler to lay down any remaining flyaways, and finish off with a coat of hair spray. Fitzpatrick recommends using the Authentic Beauty Concept Working Hairspray to ensure that your effortless ‘do lasts all day long. “It’s flexible hold, so there’s not a heavy finish,” says Fitzpatrick. “[It’ll] give great shine.”


How To Slick-Back Type 3 Hair
Daniela says that type 3 would be your curly girl. “Type 3 will usually have springy ‘S’-shaped curls which can be low, medium, or high density. [These curls usually look a bit wavy while wet, but spring right back up once fully dry.” For the sleekest outcome, it’s imperative for folks with types 3 and 4 hair to work with damp tresses.
The Technique
“Curly hair is more malleable when it’s wet,” says Fitzpatrick. That being said, Daniela cautions against styling drenched hair. “Let's just say you washed your hair and now you want to put it up in a bun,” says Daniela. “Try to dry the crown area as much as possible [before styling]. You don't want your [roots] to be wet all day because it can lead to fungus in the scalp.” Even so, styling with a wet scalp once in a while doesn't hurt, she says.
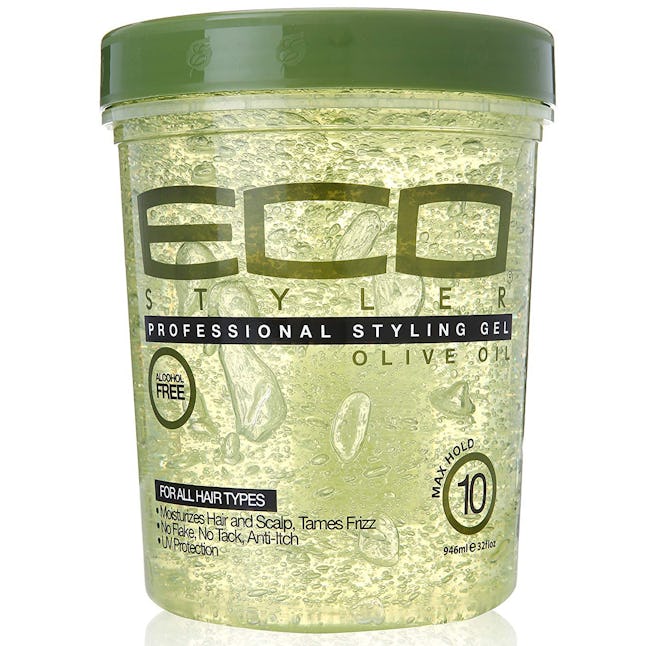
To start, coat damp hair with a silicone-free hair gel (this is because gels with silicone cause extra build-up that can make your bun less sleek and more crunchy). Use a wide boar bristle brush to smooth gelled hair into a ponytail, being sure to flatten any stubborn lumps prior to tying the hair into a pony.
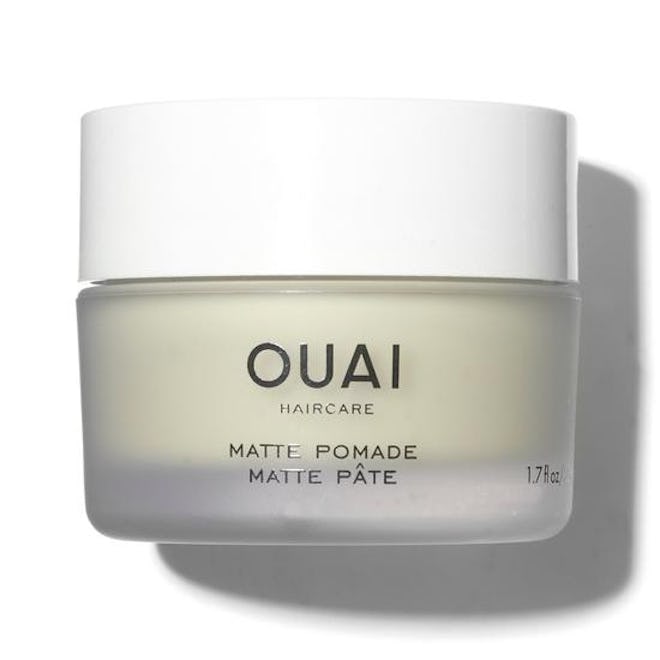
When creating your ponytail, be sure to actively pull the hair taut, leaving no room for the hair to move throughout the day. Fitzpatrick stresses that this step is especially important for curly girls because curls expand as they dry. Repeat the same steps of twisting the hair in place, then around the base of the ponytail, being sure to secure it in place with either a hair tie or bobby pins. Smooth any flyaways using a stronghold edge styling pomade and you’re good to go.


How To Do A Slicked-Back Bun On Type 4 Hair
As the most coily texture, type 4 hair is usually composed of “tight, ‘S’-shaped curls that are most often high density,” says Daniela. “These strands appear curly both wet and dry.”
The Technique
In order to lay your coils as flat as possible, sectioning will be your bestie. Part your hair horizontally at the crown of your head and section off the top half, leaving you with only the bottom half to work with. Because coils are easier to work with while wet, keep a spray bottle with a mixture of warm water and leave-in conditioner handy (this will allow you to keep your hair both moisturized and damp). Guide the lower half of your hair into a low ponytail using a hair gel, working it through your hair from root to tip. “Aussie Instant Freeze has been a go-to forever,” says Fitzpatrick. “Just know you might need to do a couple [of washes] with a clarifying shampoo next time you wash your hair.”
After securing your low ponytail, part the top section of your hair into two even halves, so that you have a vertical middle part. Take larger or small sections as needed and dampen, moisturize, and slick back the hair from these sections on top of your first ponytail. Ditch the old pony, and make a new one, being sure to pull all of the hair as taut as possible. Begin to twist your hair around the base of the ponytail, and secure it in place with another hair tie, bobby pins, or both. Go back and do any necessary smoothing with a firm-bristled brush, using extra water and gel if needed.
To seal the deal, tie a satin scarf tight around your head, and let your hair set for as long as you’d like. Take the scarf off when you’re ready to head out, and voila.


This article was originally published on
