Beauty
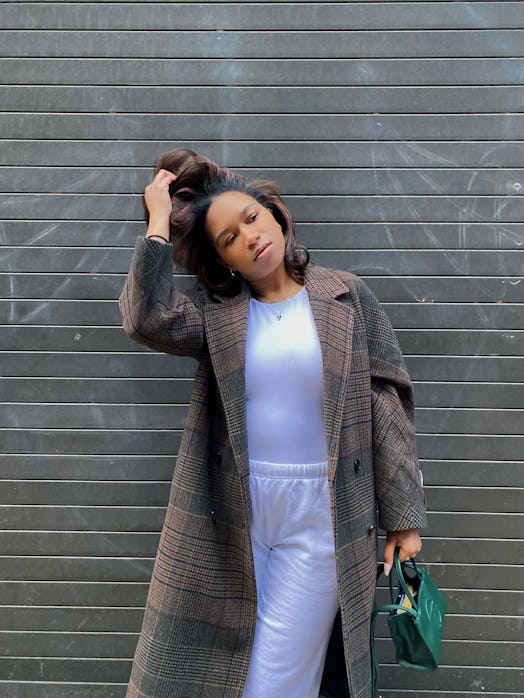
Here's How To Do A Perfectly Smooth Silk Press At Home
How to master the art as a non professional.

When the leaves fall and the air cools, it means only one thing for me and my fellow curly-haired women: silk-press season has arrived. While it’s a glorious time to express oneself through a new ‘do — and take a much-needed break from having to tame your curls every morning — it doesn’t come without challenges. Between the struggle of booking an appointment, costly service fees, and the paranoia of entrusting a complete stranger with my hair, I’ve found that if I want something done right (especially my silk press), then I have to do it myself.
A silk press is a term widely used in the Black community to refer to the straightening process of curly or coily textured hair. “Recently dubbed glass hair, the [silk press] is a smoothing process used on higher textures to leave hair bone-straight with a silk finish and high shine,” celebrity hairstylist and Mizani global artistic director Tippi Shorter Rank previously told Bustle. “The hair is left super straight without body or curl, but still has tons of movement.”
In order to make this style last, low heat and humidity is imperative. Hence, “silk press season” is a term used to identify the chilly, silk press-friendly weather that autumn brings. Achieved by washing, blow drying, and flat ironing the hair, the process can laborious task that isn’t for the faint of heart.
On my first crack at it, the finished product was less of a silk press and more of a low-heat blow out. (I still get flashbacks of the burns on my fingers and the smell of fried hair in my nose.) I’ve learned a lot since those dark days, and as I continued adding and subtracting products, experimenting with techniques, and gaining confidence, I have mastered the art of the at-home silk press as a wobbly-handed, non professional. Read on for my tips.
How To Do A Salon-Quality Silk Press From The Comfort Of Your Own Home
1. A Good Wash Day Makes For A Great Blowout
What you’ll need:
- Hair strengthening treatment
- Trusty shampoo and conditioner
- Plastic shower cap
- 4 Salon Hair Clips
The perfect wash day routine starts the night before with a hydrating hair treatment. Part your hair into two even sections and apply the product to one section at a time. For optimal hydration, use a detangling brush to work the product through your hair, being sure to coat every strand. Once finished, I’ll put on a shower cap and head to bed. This important step preps your hair by locking in moisture and strengthening bonds for the red-hot day ahead.
Come morning, I get straight to work — but not before curating the perfect wash-day playlist, giving myself a pep talk in the mirror, and notifying all of my roommates that the next three to four hours will be dedicated to my now marinated head. Hop in the shower, rinse out the hair treatment, and divide your hair into two even sections, pinning one side up using a hair clip. Apply a generous amount of shampoo and work it through one of the two sections, being sure to scrub out any and all product buildup. Rinse thoroughly and repeat on the other side.
The moisture that we put back into our hair pre-blowout is imperative for the best possible silk press. After a rigorous shampooing, liberally apply conditioner to your hair in small sections. Pop on a shower cap, leave it be while you complete your shower routine, and rinse thoroughly.


2. A Great Blowout Makes For A Perfect Silk Press
What you’ll need:
- Heat protectant
- Blow dryer
- Round blow dryer brush
Post wash, apply a generous amount of heat protectant or blowout cream to your soaked curls. Part into four even sections, make each section into a bantu knot, and use the salon clips to hold them in place.
Pick one of the two quadrants at the back of your head (I prefer the right) and take one-third of this section for blow drying, clipping the rest out of your way (this is where those bantu knots come in handy). Brush from root to tip of the small section as you blow dry on low, following the strokes of the brush with your blow dryer. After the section is completely dry, use high heat as you rotate the brush through your hair, focusing on those roots. Repeat all over your head and take a much needed break...you’re almost there.


3. Prepare For Silky Heaven
What you’ll need:
- Hair oil
- Flat iron
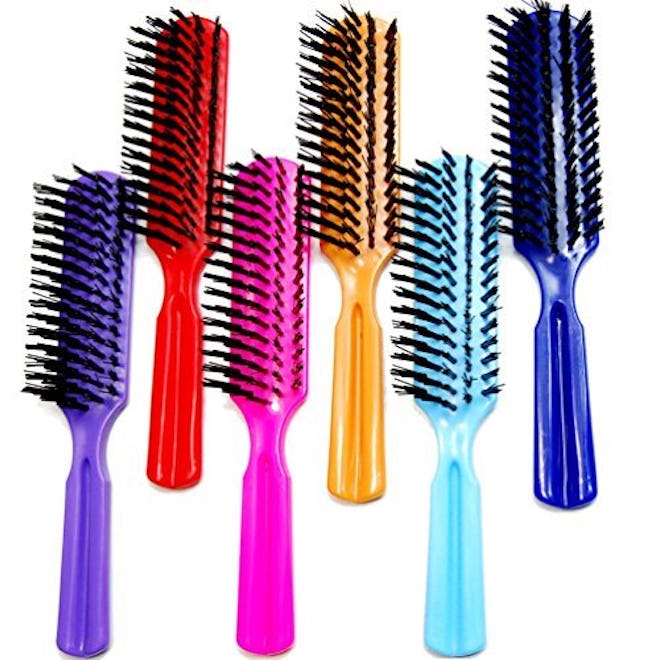
- Nylon bristle hair brush
Now it’s (literally) time to heat things up. Rub a dime-sized amount of hair oil in your hands and work it through your strands. Find a comfortable seat in front of a mirror and part your hair into four even sections (again creating bantu knots and using salon clips to secure them). With a flat iron set to approximately 345 degrees, pick up your nylon bristle brush, and divide off a small cluster of hair (the smaller, the better) from one of the back two quadrants. Set your bristle brush at the root of the tiny section, and lightly brush one or two times to smooth. Slowly guide the brush down the hair shaft with the flat iron trailing directly behind it, making sure to straighten from root to tip. Put on your favorite TV show and continue to work with equally small sections around the head.
When it's all said and done, bump the ends, pop in your favorite rollers, and slap on a satin cap. Prepare to have your hair complimented on your next outing — and don’t forget to claim bragging rights for having done it yourself.


This article was originally published on
