Fashion
This Is The Best Lazy Girl Smoky Eye Hack
Yes, it's totally possible to create a smoky eye without using any brushes. With all the emphasis on blending as the most important part of smoked out shadow, I know this might sound crazy, but I tested it out for myself in the name of lazy girls everywhere. When it comes to creating new makeup looks, I like to push the boundary a little bit. So, creating a smoky eye using zero brushes seemed like a perfect challenge. While it may seem daunting at first, this look can be done in less than 10 minutes. Don't believe me? Grab a few shadows, and follow along.
The best part of a brush-free smoky eye is that you can probably create this entire look using products you already own. The only non-makeup items that you'll need for this look are tape and cotton swabs to help guide you and clean up any messy edges. Your fingers will do the rest. It's that simple. While eyeshadow brushes are great tools, sometimes you're stuck without them and have to get smoky in a pinch. For all those occasions, here's how to create a dramatic eyeshadow look without using any brushes.
1. Map It Out

Begin your smoky eye look by placing a small piece of tape to the edges of your eyes. The tape will act as a guide for makeup, and give the look a crisp edge. Since I'm not using any brushes, the tape will do half of the work for me when it comes to blending.
2. Create A Base

Using cream products is key for this look. They really give off amazing color, and are easier to blend in with your fingers than a powder formula. To start, I applied the Circa Beauty Eye Crayon in Regal Sapphire across my entire eyelid, and blended the edges with my pinky finger. Seeing as this is just the base for the eye look, don't worry if it isn't perfect — you'll be layering more on top, and the tape helps create a sharp wing.
Circa Beauty Eye Crayon, Regal Sapphire $14, Amazon.com
3. Add Some Shimmer

Next, I applied "Gunmetal" from the original Urban Decay Naked palette to the center of my lids using just my ring finger. The shadow not only sets the cream base, but it also adds shimmer and dimension to the look.
Urban Decay Naked Palette, $54, Sephora.com
4. Contour Your Crease

Add further dimension to your smoky eye by placing dark brown shadows into the crease. An eyeshadow stick is perfect for this step as it allows you to trace the perfect line across the crease. I used the Circa Beauty Eye Crayon in Chocolate Diamond for this step, and then layered Urban Decay's "Darkhorse" shadow over it using my fingers. These two shadows blend perfectly together, and create such depth to the eye look. If you want a bit more of a blended look, feel free to use a cotton swab along the top edge of your crease. This will soften any edges without wiping away the shadows.
Circa Beauty Eye Crayon, Chocolate Diamond, $10, Drugstore.com
5. Highlight

Next, highlight the inner corners of your eyes as well as your brow bone with a light vanilla eyeshadow. Using my fingers, I highlighted my eyes using Urban Decay's "Virgin" eyeshadow.
6. Line Your Eyes

Using a black liquid liner like Maybelline's Line Stiletto, create winged line across your lids. I kept my eyeliner thin, so the focus would be on the eyeshadows. However, you can make your eyeliner as thick or thin as you please. Afterwards, remove that pesky tape (finally!).
Maybelline's Line Stiletto, $5, Amazon.com
7. Work On Your Lower Lids

For this step, line your lower lash line with the two cream colors that you used previously on your lids. I lined the outer third of the lash line with the navy shade, and line the middle with the brown shade. I left the inner corner unlined in order to make my small eyes appear larger.
8. Add Mascara

Next, coat your top and bottom lashes with a lengthening mascara. I used about two coats of the Circa Beauty Optical Illusion mascara to thicken my lashes.
Circa Beauty Optical Illusion Mascara, $11, Drugstore.com
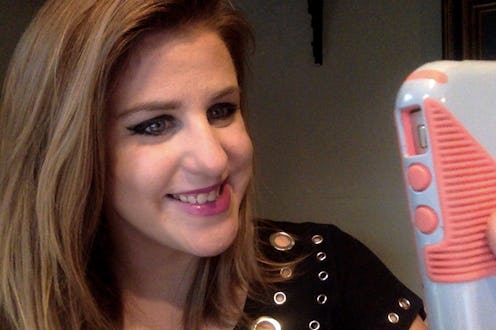
9. Take A Selfie (Optional, But Preferred)

Document all of your hard work with a selfie. You deserve it!
Here's the finished look! Not bad for not using any brushes, if I do say so myself.


Images: Emily McClure
