Beauty
Your Guide To Curling Hair That Usually Falls Flat
Experts share their pro tips.
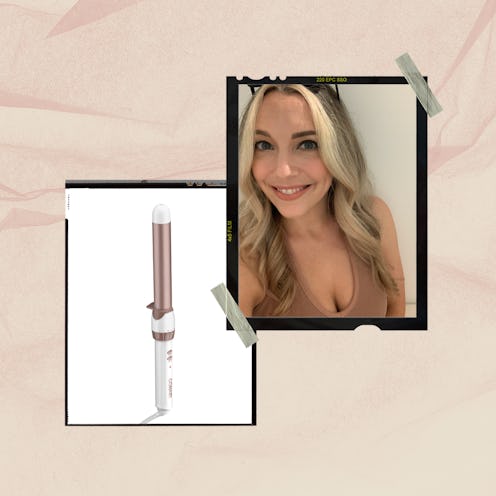
At some point in my 30s, my hair developed a mind of its own. No matter how much hairspray I used or how much time and effort I put into curling it, it’s guaranteed to go limp several hours later. I began waxing nostalgic for the days when my hair held a curl for several days. What the heck happened? Why is my hair trying to sabotage me? And what can I do about it?
After speaking to several hairstylists, I realized the errors of my ways. Apparently, I was not only using my curling iron incorrectly, but I was also turning to all the wrong products in order to make my curls last. (The fact that I have very fine hair certainly doesn’t help my cause, either.)
Thankfully, I’ve finally learned some pro styling tips that help — and my curls have now been lasting for days. If you’re tired of having your hair fall flat, heed the expert-backed wisdom below.
How To Curl Hair That Won’t Hold Curls
1. Skip The Silicones & Parabens
Take a peek at the ingredients on your shampoo, conditioner, and styling products, and you’re bound to find some form of silicone (hint: these preservatives usually end in “methicone”). Silicones can be found in a slew of hair care products because they act as a conditioning agent, boost shine, and protect your hair from heat and other damaging elements.
Unfortunately, the ingredient accomplishes all this by creating a film on your hair that blocks out moisture and other nutrients when you use it regularly — leading to dryness and dullness, says celebrity hairstylist Genia Church. Consistent use of silicones can also create a heavy buildup over time. “Depending on the hair's texture and density, you can overburden the hair with products or ingredients that coat the hair — such as silicones — weighing down the curls and preventing movement and body,” she says.
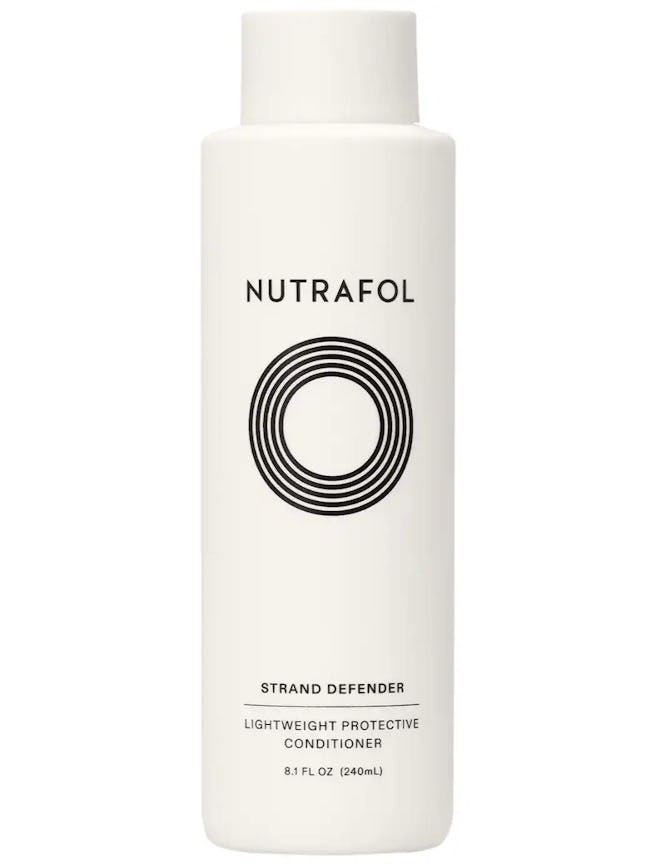
After scanning the labels on my hair products, I was shocked to find that almost everything in my arsenal had silicones. That is, with the exception of my trusty Nutrafol Root Purifier Scalp Shampoo and Strand Defender Lightweight Strengthening Conditioner.
Lauren Kunijo, co-owner of the Charlotte, North Carolina-based salon Kenna Kunijo, says products containing parabens should also be avoided in hair care as well. “Parabens are super heavy,” she explains. “They’ll loosen the shape of the curls and drag them down.” As soon as I scaled back on products containing silicones and parabens, I noticed my curls started staying put much easier.

2. Create The Right Canvas
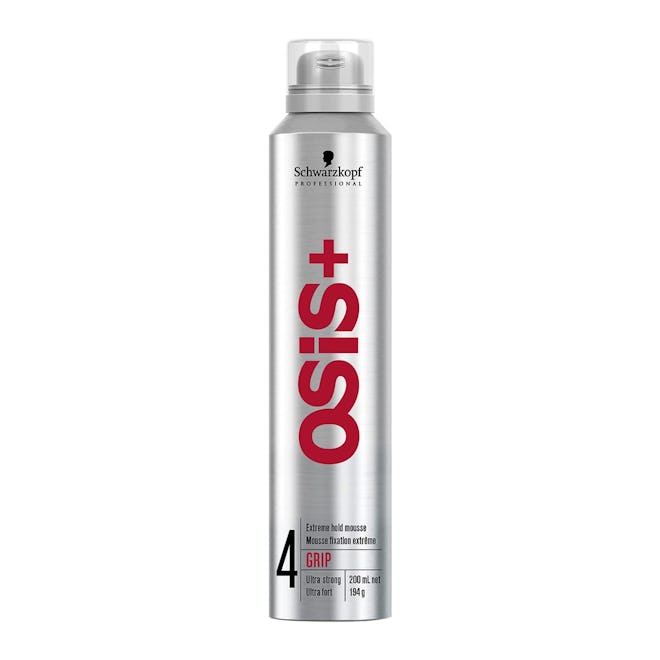
It’s also key to know which products and ingredients you *should* introduce into your styling routine. Church likes to use OSiS+ Elastic Finish Flexible Hold Hairspray right before curling. To prep damp, fine hair before blowdrying, she applies OSiS+ GRIP Extreme Hold Mousse. To prep textured hair before drying, she applies Fibre Clinix Fortify Sealed Ends. “These products create a great foundation for curl longevity and heat protection,” she explains.
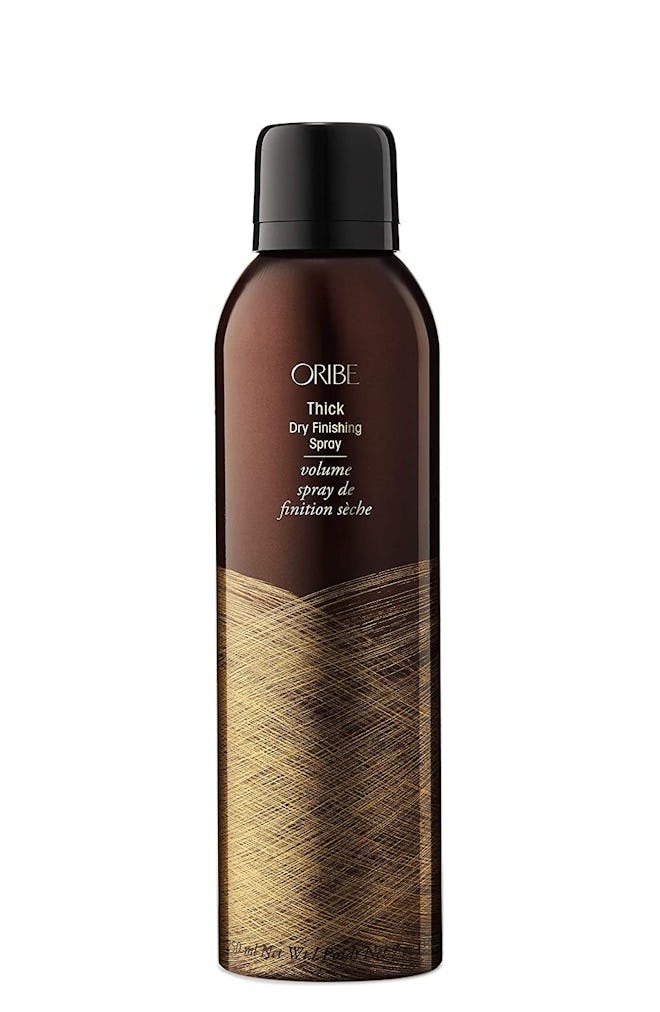
People with fine, silky hair often need to add a little grit to their hair to get waves and curls to stay put, which is where texturizing spray and hairspray come in. Raven Hurtado, a stylist at Maxine Salon in Chicago, recommends spritzing the Oribe Thick Dry Finishing Spray on dry roots before curling for density, lift, and body. I always assumed that hairspray was meant to be used solely as a finishing product, but Kristin Speakman, a hairstylist and founder of Washington’s Bella Red Salon, tells me that it can be helpful to apply it before curling for maximum hold.
“I also like to use Kérastase Laque Couture Medium Hold Hairspray before and after each section when I curl,” adds Hurtado. “It’s buildable yet flexible. Spraying it on before curling preps the hair to lock in place and spray on after for a longer lasting hold.”


3. Set Your Curling Iron To The Right Temperature
Most curling irons nowadays allow you to adjust the temperature — and for a very good reason: there is no one-size-fits-all setting. It all depends on your hair type and texture. Set the temperature too low and your curls are sure to fall far before anyone can appreciate your finished look. Set it too high and you’ll cause some serious damage.
According to Hurtado, 350 degrees is a safe bet for most to get a long-lasting curl without wreaking havoc on the health of their hair. That said, Kunijo, whose clients have included Olivia Culpo, advises setting your curling iron to a slightly lower temp if your hair is fine or compromised (say, from bleaching or chemical straightening). Those with thick, virgin hair can crank the heat up a little higher.


4. Use Smaller Sections When Curling
Especially when I’m in a rush, I have a tendency to grab pretty large sections of hair (about 2-3 inches) to wrap around my curling iron. Curling more strands at once may speed the styling process along, but I’ve learned the hard way that it also seriously shortens the lifespan of my curls. As Speakman explains, using smaller sections for curling allows all of the hair to get consistent heat exposure, so the curl pattern can be shaped faster and more evenly. “Taking smaller sections will achieve longer-lasting curls since the curl will be tighter, too,” adds Hurtado. Curling 1-inch sections definitely takes me a little longer, but it’s well worth the extra time for a style that stays put.
5. Start From The Roots
When you curl your hair, do you clamp the ends and then spin the barrel up toward the roots? Or do you start at the roots and curl downward? According to the pros, you should be following the latter technique. “Hair on the ends needs the least amount of heat exposure versus the newer hair toward the root,” says Kunijo.
Think about it this way: Your ends are the oldest part of your hair — whether you heat style, color, or chemically treat it, the ends have been through the most, and are therefore super vulnerable. On the other hand, the section of your hair closer to the scalp tends to be much healthier. A super healthy hair shaft has a smooth outer layer, which isn’t really conducive to holding any style in place. For this reason, always start your curling process at the top of your tresses and work your way down.
6. Don’t Forget To Set The Curls
You might think that as soon as you unclamp that last section of hair, you’re done — but not so fast. According to Church, setting the curls is actually the most important step to achieve optimum longevity. “The hair forms when heated and sets when cooled, so if your curls are heated and dropped they will set in an elongated form,” she explains.
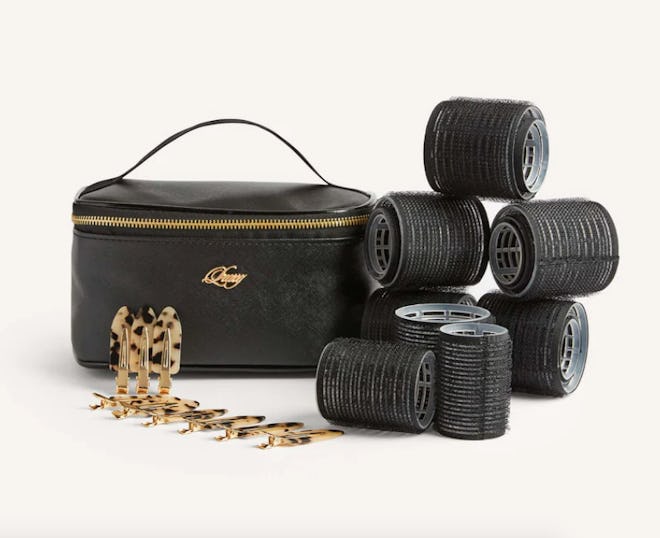
As your curls are cooling down, ensure they retain their shape by doing one of three things: cupping the curl in your hands and holding it in place for a minute or so; pinning the curls up towards your scalp and pinning them in place; or using velcro rollers. Pro tip: “If you’re in a hurry, I like to hold a diffuser on the cool air setting close to the head,” says Hurtado.
Once your curls are cool, Hurtado recommends using your fingers or a wide-toothed comb to break them up, and then adding one final mist of hairspray to lock in the look. Speakman’s favorite finishing product is Bumble and Bumble’s Thickening Dry Spun Texture Spray because it offers hold, volume, and texture and is suitable for all hair types.


7. Don’t Touch The Curls Right Away
It’s tempting to run your fingers through your curls after you’re done styling — but stylists strongly advise sticking to a hands-off policy for at least about 15 minutes, or until they’re cool to the touch. Kunijo likens the cooling process to baking cookies: If you touch a cookie when it’s hot out of the oven, you ruin the shape.
“If you run your hands through to loosen the curls before they are cool, you are basically undoing all your work,” says Kunijo. Even after your curls have cooled and set, Speakman notes that the less you touch them, the better — not only to keep your curls from falling but also to minimize frizz.
Studies referenced:
Gavazzoni, Dias MS. (2015). Hair cosmetics: an overview. Int J Trichology. doi: 10.4103/0974-7753.153450. PMID: 25878443; PMCID: PMC4387693.
Experts:
Genia Church, celebrity hairstylist
Lauren Kunijo, co-owner of the Charlotte, North Carolina-based salon Kenna Kunijo
Raven Hurtado, stylist at Maxine Salon in Chicago
