Beauty
How To Do The Water Waves Hairstyle For Effortlessly Chic Volume
It’s the chiller cousin of beach waves.
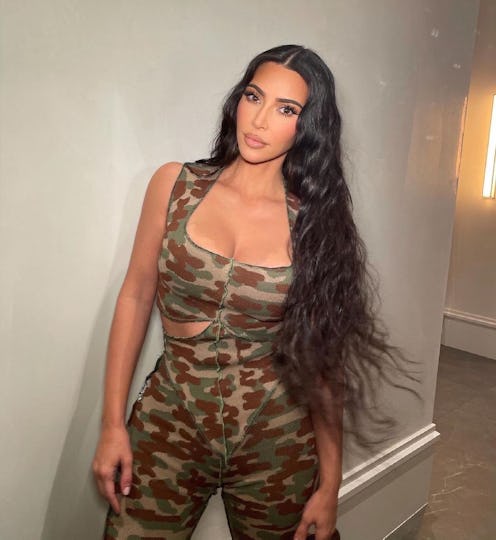
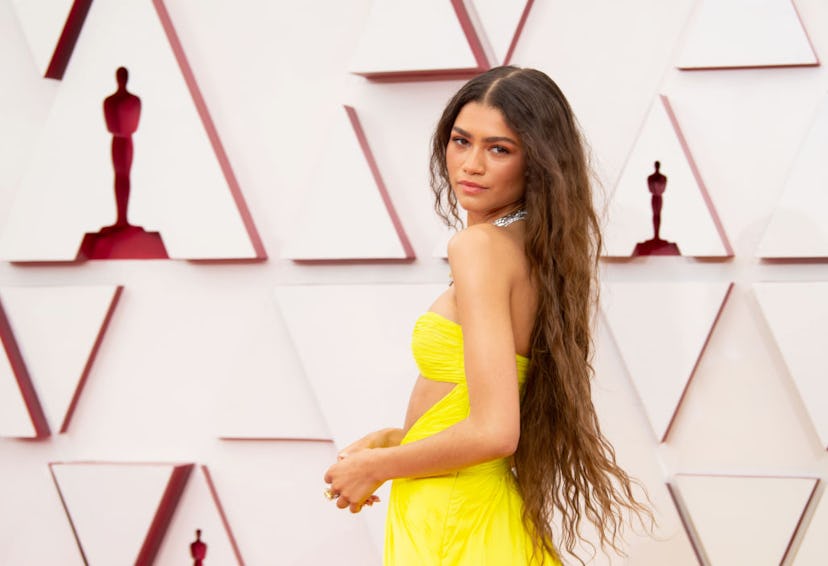
Along with no-makeup makeup, spring brings with it the desire for hairstyles that feel breezy and scream too cool to care. Enter the laid-back version of beach waves that are taking over this season: water waves hair. The trendy style — which has been seen on stars like Zendaya, Kim Kardashian, and Megan Fox — features barely-there ripples that mimic flowing water rather than defined curls and waves, making for an effortlessly chic style perfect for the increasing temperatures.
Cosmetologist and celebrity hairstylist Sunnie Brook explains that water waves hairstyles are defined by “a flat bendy wave” that creates a soft ‘C’ curve in the hair. The look delivers a smidge of volume similar to what straight and wavy hair types would achieve by air-drying. Still, the best natural-looking styles always call for a little something. On the plus side, learning how to do the water waves hairstyle is really easy.
According to Garnier celebrity beauty expert Millie Morales, strong and thick hair types work best when recreating the more defined look. Brook adds that straight and wavy textures are going to respond best to this style. Still, Brook says, “If you have fine hair, this technique can give it a fuller-looking appearance.” The takeaway? For most, water waves are totally doable. Scroll on for a few super easy ways to achieve effortless-looking water waves — one of which doesn’t require any heat at all.
We at Bustle only include products that have been independently selected by our editors. We may receive a portion of sales if you purchase a product through a link in this article.
1. Use A Curling Iron
One of Brook’s favorite ways to accomplish water waves is to use curling iron almost like a crimper. After quickly running the iron over a small section of hair to smooth, starting at the root and ping-ponging between an overhand and underhand approach, she moves down the length of the piece, gently curving the hair around the barrel. Brook says this technique works well with all hair lengths and offers better control than other curling tools. “You can use a 3-barrel waving iron to create this look, but it can look too perfect, so use a brick layering pattern,” she suggests.
Once your waves have been set, celebrity hairstylist Jess Elbaum recommends going over your hair with your favorite paddle brush and brushing it all out in the same direction. “Finish with a nice hair oil,” she tells Bustle.
2. Sleep In Braids
You could also create water waves while you’re sleeping. For this technique, Brook says to gather your hair into one loose French braid down the back and secure the end with a silk scrunchie. And that’s it! While you’re snoozing, she notes that those soft waves are forming. “This one is great if you have longer hair and not many layers,” Brook tells Bustle. If you’ve got shorter lengths, she says to consider pulling your hair into two pigtail-like braids instead. You may also want to apply a bit of frizz-fighting oil or serum to your hands and smooth through your strands while you take down your braid(s) — that way, your waves stay in place. Go over your hair with a wide-toothed comb and finger fluff for that effortless effect.
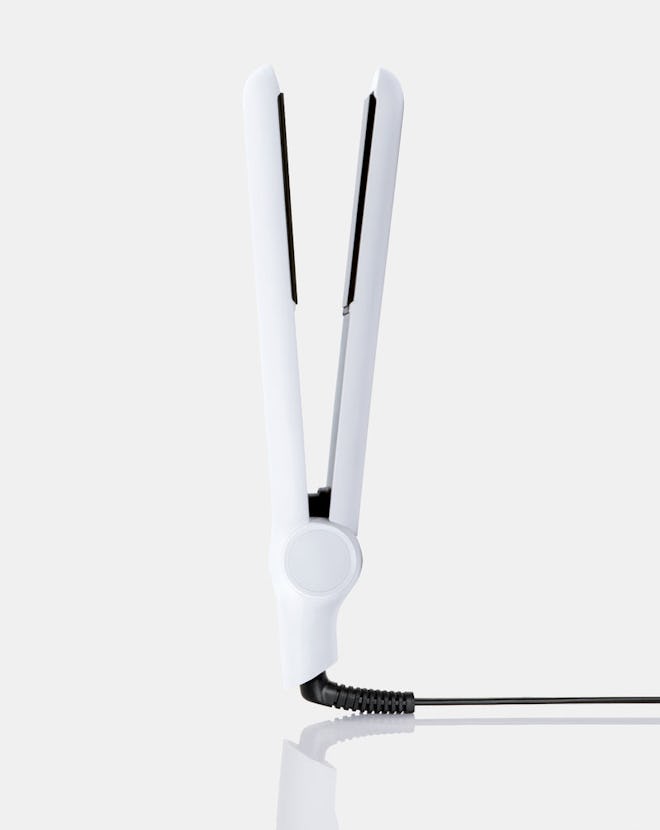
3. Create Waves With A Flat Iron
Elbaum’s favorite way to create water waves combines the braid and the iron method. She recommends gathering your hair into four braids — two in the front, two in the back — and then, starting at the root, running a flat iron over each braid a few times. To finish the look: “Take out the braids and comb through with a wide-toothed comb,” she says.
This article was originally published on
